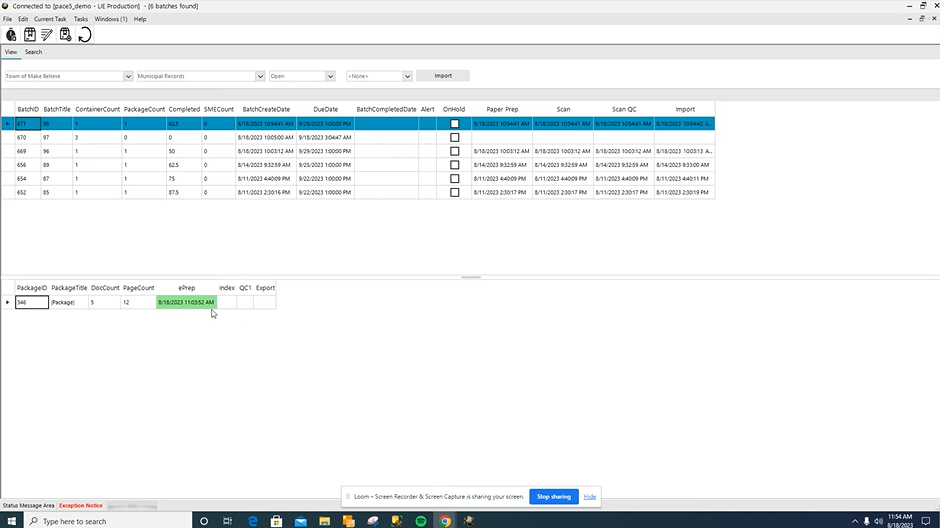
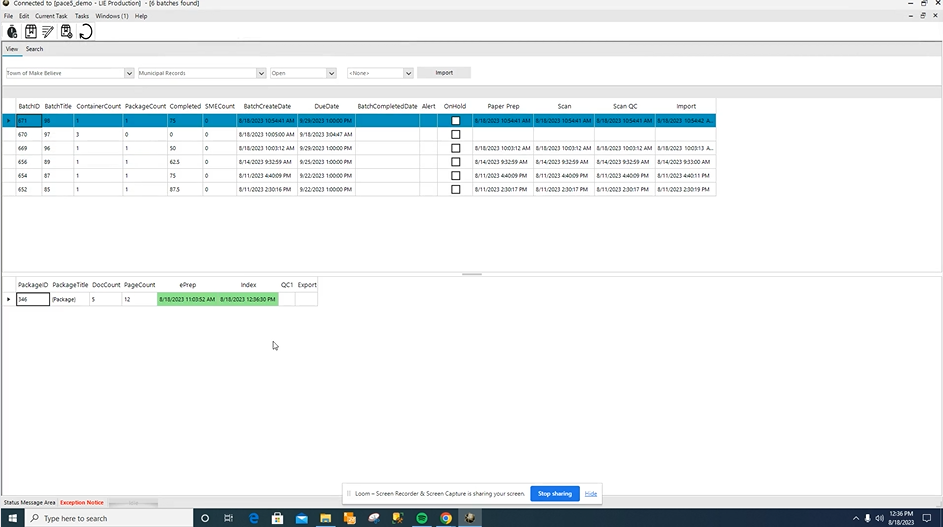
PACE offers a document processing software called PACE Data Capture that can fully integrate and communicate with PACE’s administration side. Here you will find a quick tour and introduction to PACE Data Captures data entry/indexing and quality control (QC) process. In the screenshot below, you can see the prior step of E-Prep was completed because it is showing green in the grid and there is a date and time of completion. This means this batch is ready to be indexed. You will need to double click in the indexing grid to begin.
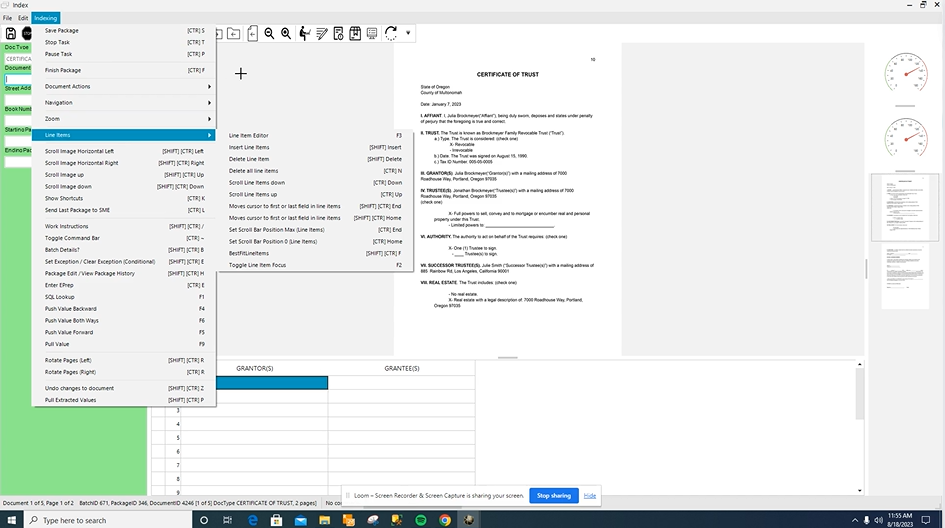
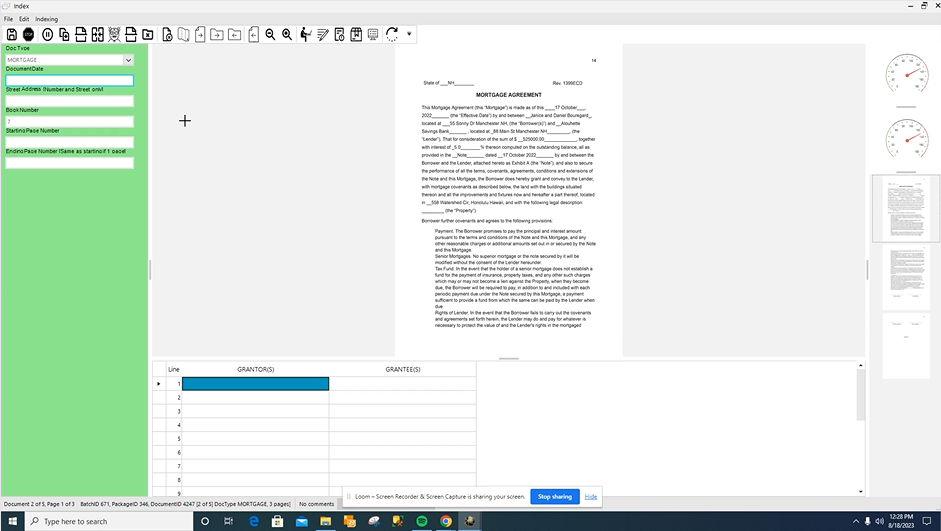
Shown here are our documents to be indexed. You can see that the background of this panel is green. That way at a glance, you know that you’re in the indexing task. To view shortcuts, you can open up the menu on the top left. You can also open that using the Ctrl + K shortcut.
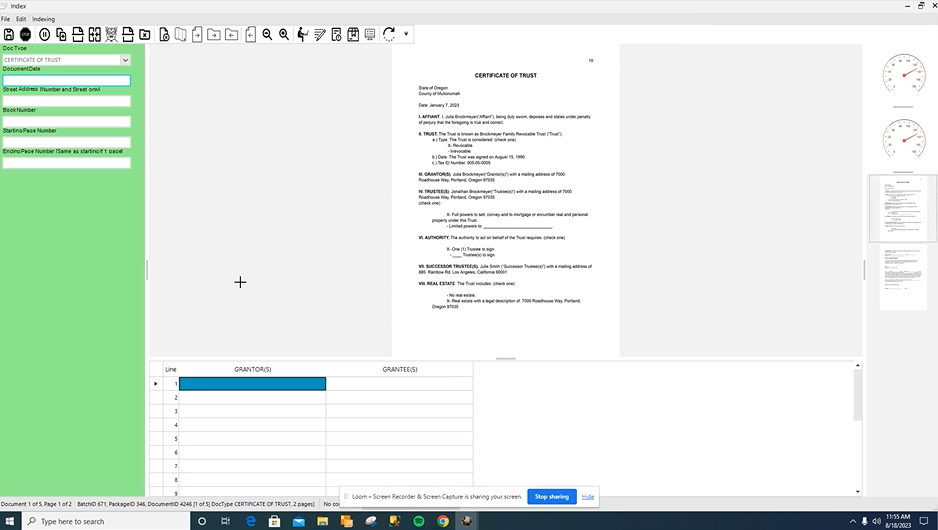
Our cursor defaults into the first field that we need to complete. Although, we always want to give a glance to the doc type to make sure that it’s been selected correctly, which in this case it has. If we needed to change it, we would just click on the arrow and make a new selection from the dropdown.
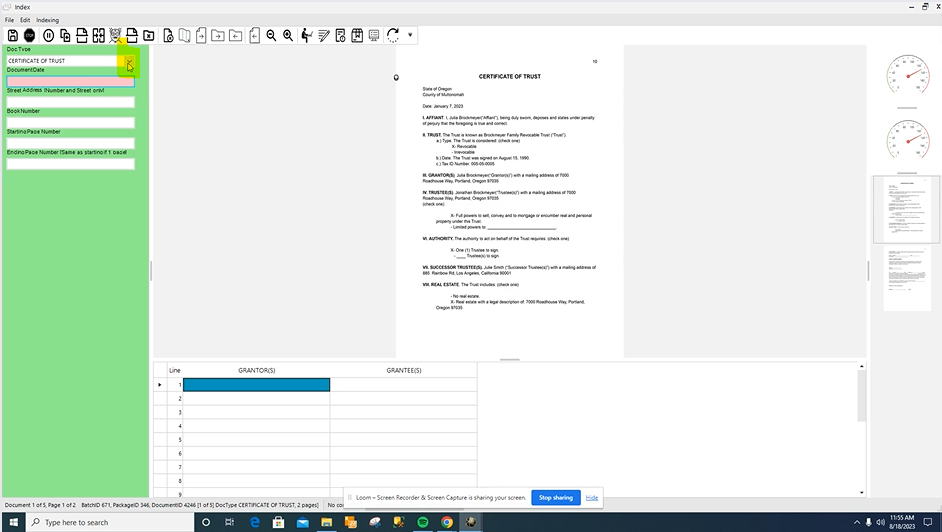
You’re going to index simply by using your keyboard and typing in what the fields are asking for.
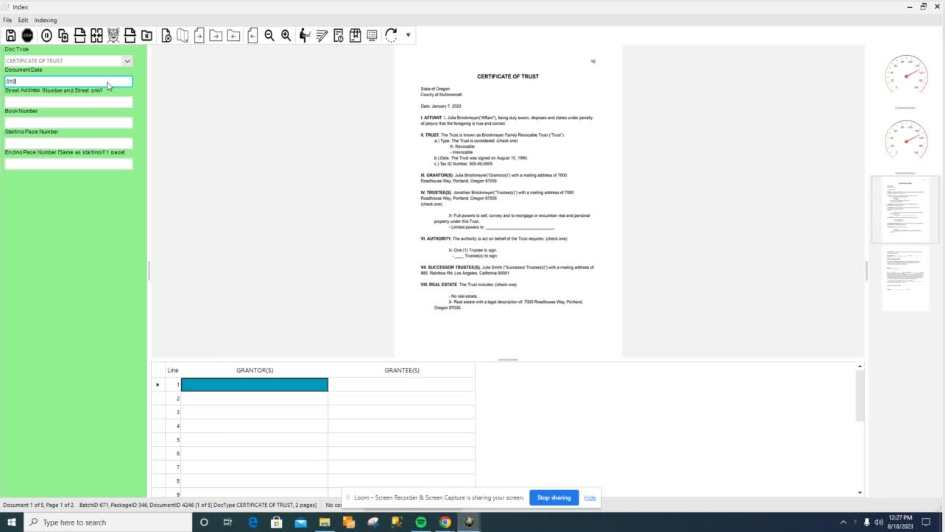
You should notice that there are little tips next to the indexing labels. If you hover over it with your mouse, it will bring up a pop-up so that you can read it more clearly. These “tips” can be updated and changed, and are useful when first learning a project.
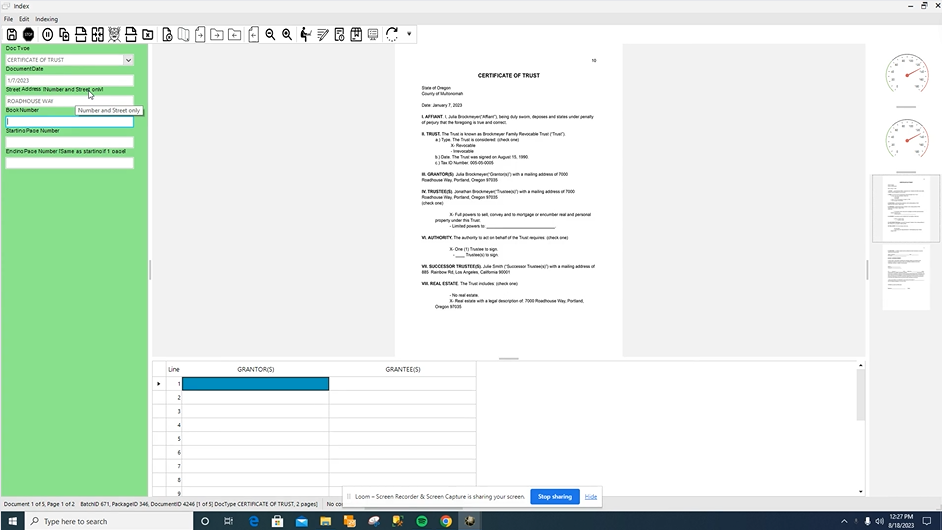
Once you get to the bottom of the indexing fields in the green, you will hit enter to move to the line item fields at the bottom. Line items are often used when you need more than one value entered for an indexing field. These may not be necessary for every project.
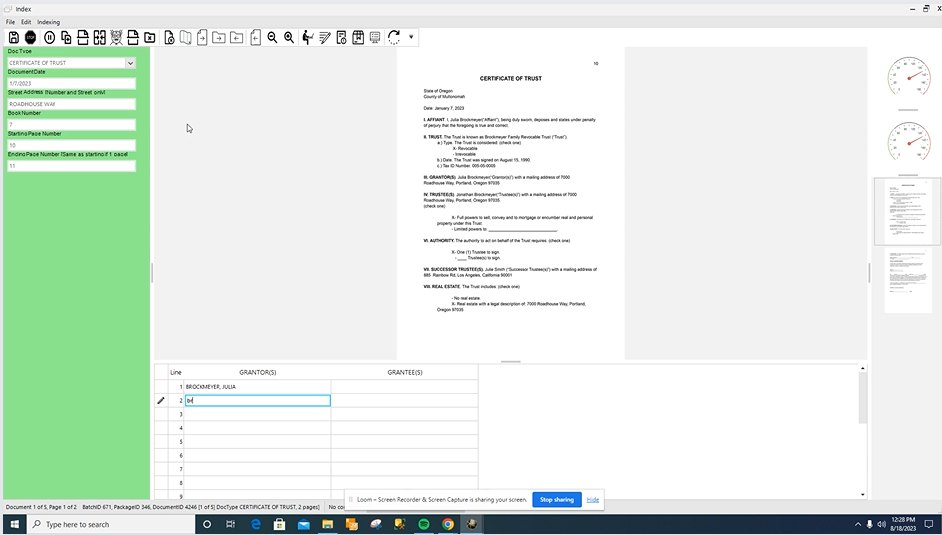
When those fields are filled in, you will hit enter to move onto the next document.
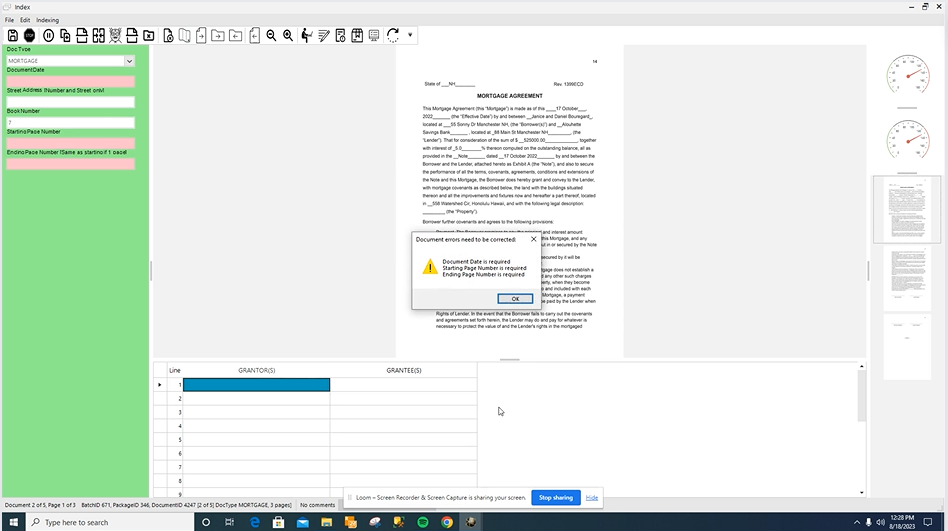
If you forget or skip a field, you will get a message that tells you what fields you have missed that are required to be indexed. You can just simply click OK, and go back and fill those fields in.
When finished indexing that package, the system will send you back out to the main page. You can see the indexing step is complete because it’s now filled in green and has a date and timestamp.
Once the indexing steps are completed, another operator may need to review the images and data for quality control. In PACE Data Capture, QC1 is the first QC category, which means that you are going to check the values entered in every field and make sure that they are accurate. Notice that the QC screen has a lavender background for the panel. That way at a glance, you know if you’re indexing (green) or QCing (lavender).
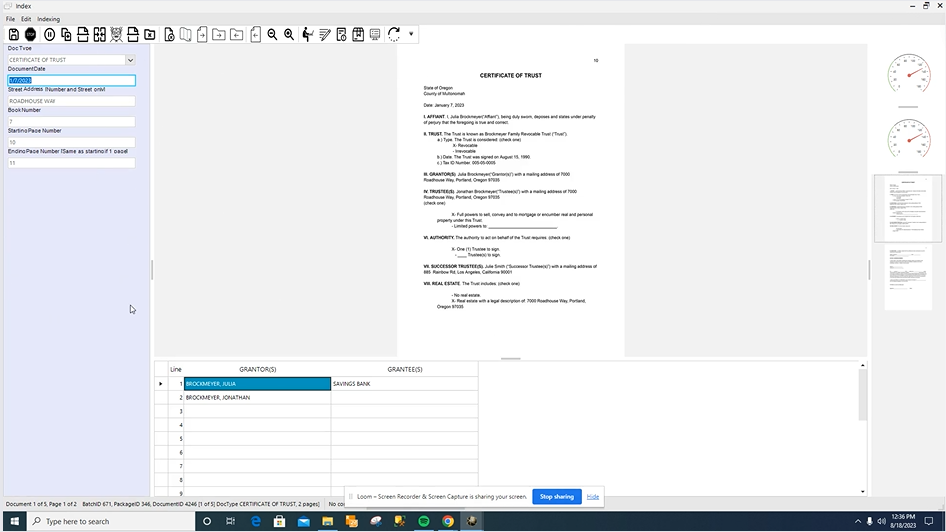
Here you will tab through the fields while checking the data, and can correct the mistakes right in the field area if any are found. Once that document is reviewed, you can hit enter to move on. Once the QC step(s) are finished, the batch is ready to export to the client, which depending on your project setups, can be done manually or automatically.
If you have more questions or would like to see a demo, reach out to our team!

