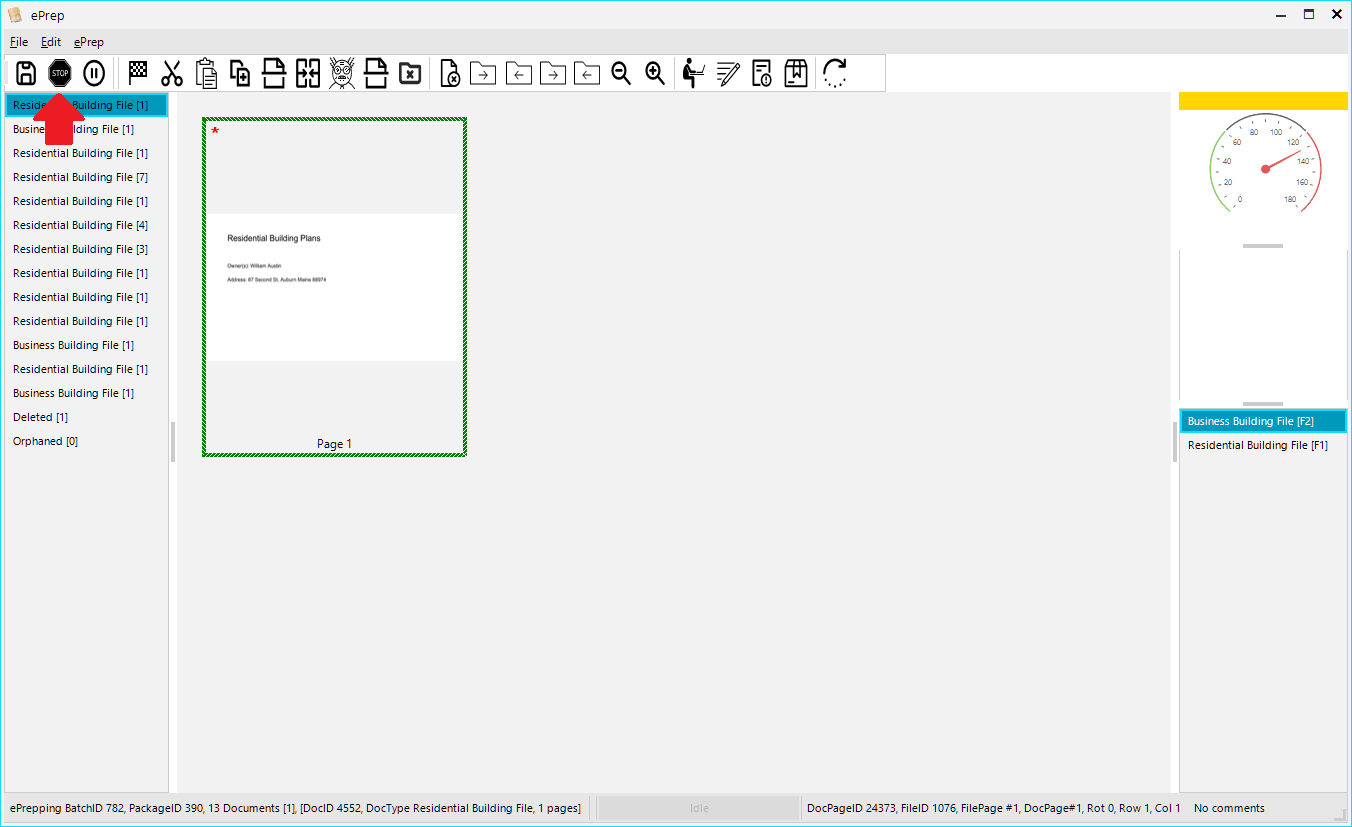
Some projects can be imported and ready to work without any additional steps, for everything else there’s ePrep. In this article we will go over how to navigate and use the suite of functions available in the ePrep task.
Before you start
To begin ePrepping you must do the following
- Include the ePrep task in your Project Setup
- Import some files to PACE Data Capture
You will also need the following permissions
- Login
Entering ePrep
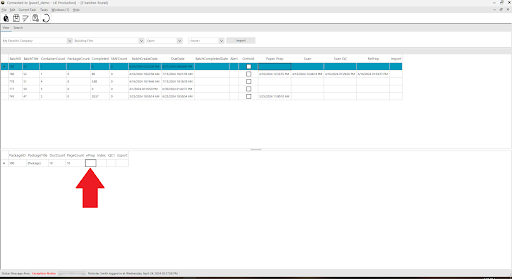
From the batch view screen, navigate to the Customer and Project you want to work on.
Select a batch and double click on the ePrep cell on the package.
Using ePrep
Users have the ability to navigate the ePrep screen using their mouse to click around, however with some practice users can perform faster with just their keyboard. In this section we will go over all navigation controls.
Using your mouse
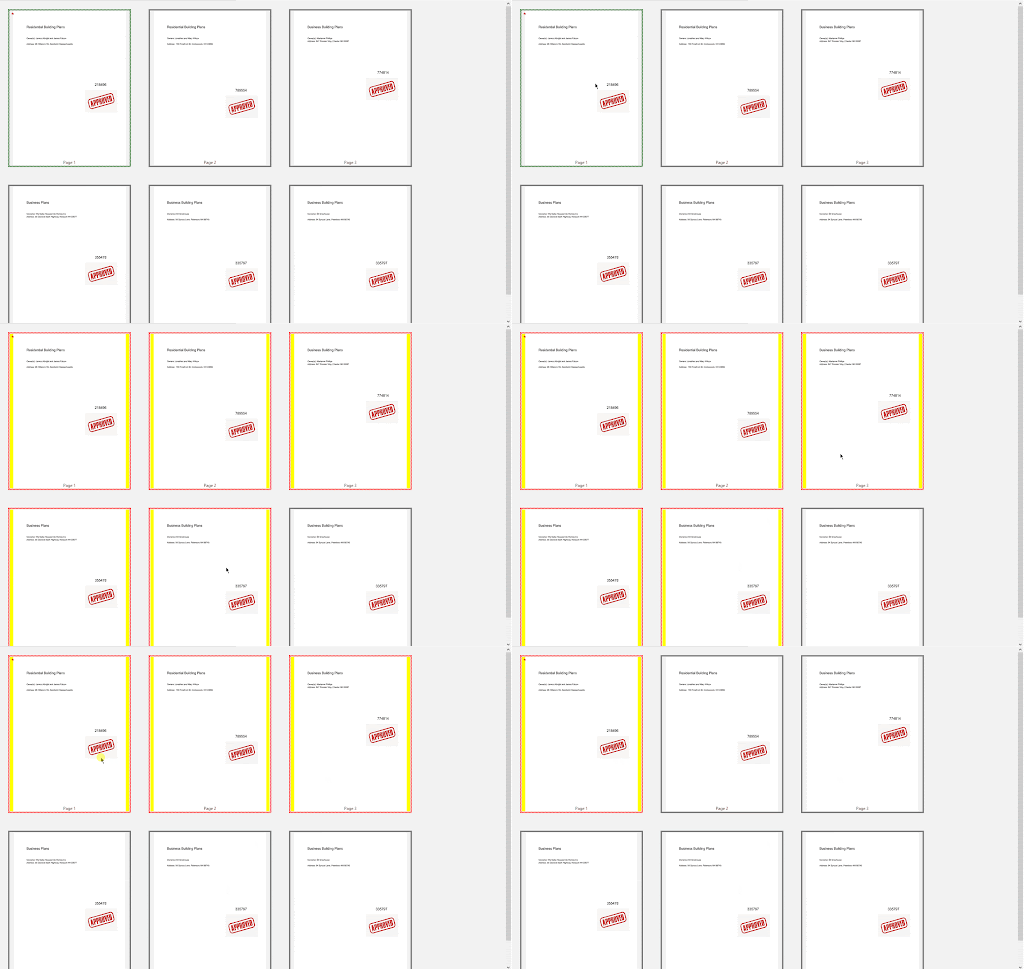
To select a page using your mouse, simply click on the image you would like to select. A red box will appear around the image, indicating that it has been selected.
If you would like to select multiple pages, you can hold Ctrl and click on each page you want to select.
To select an entire range of pages, select the first image, then hold shift and click on the last image. This will select everything between the two you’ve clicked.
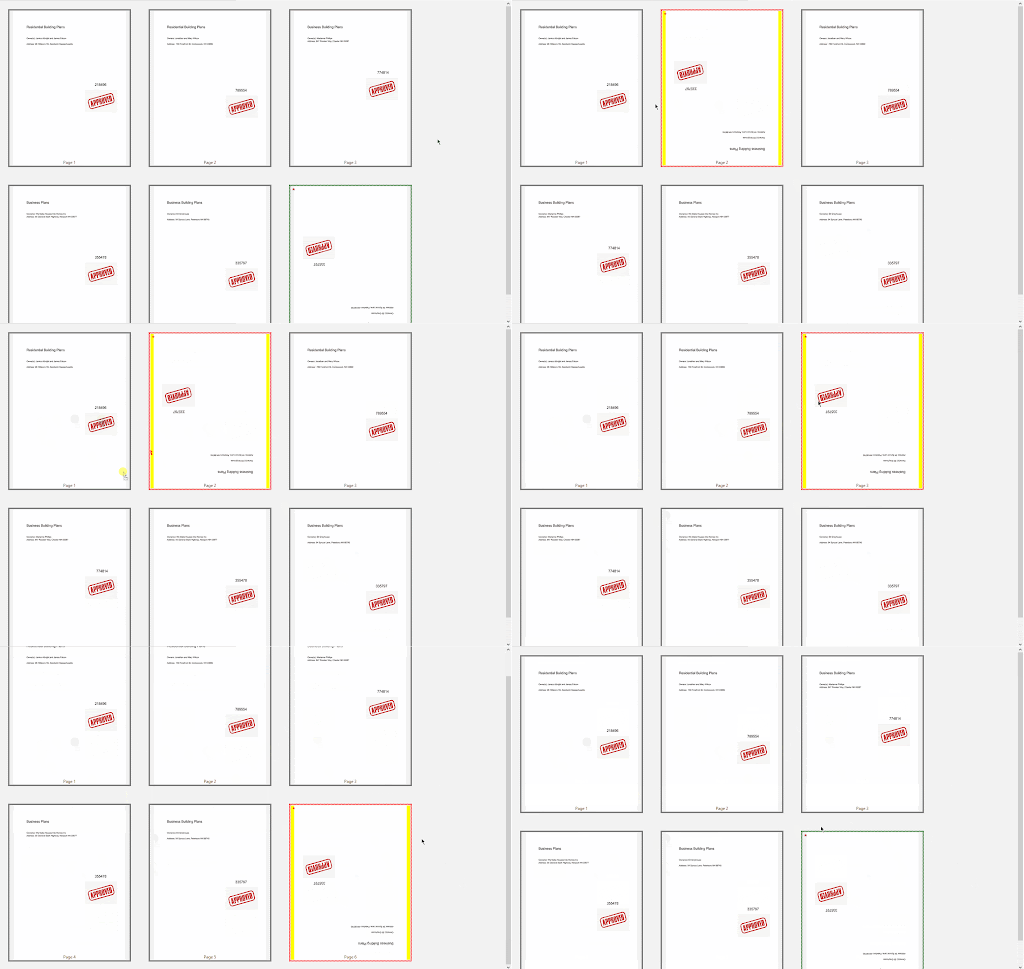
To move a page select the page(s) you want to move, then click and drag the pages to the location you want them dropped. You will see a vertical line appear in between the images, this is where the dropped pages will be inserted.
To change documents click on the name of the document you want to swap to.
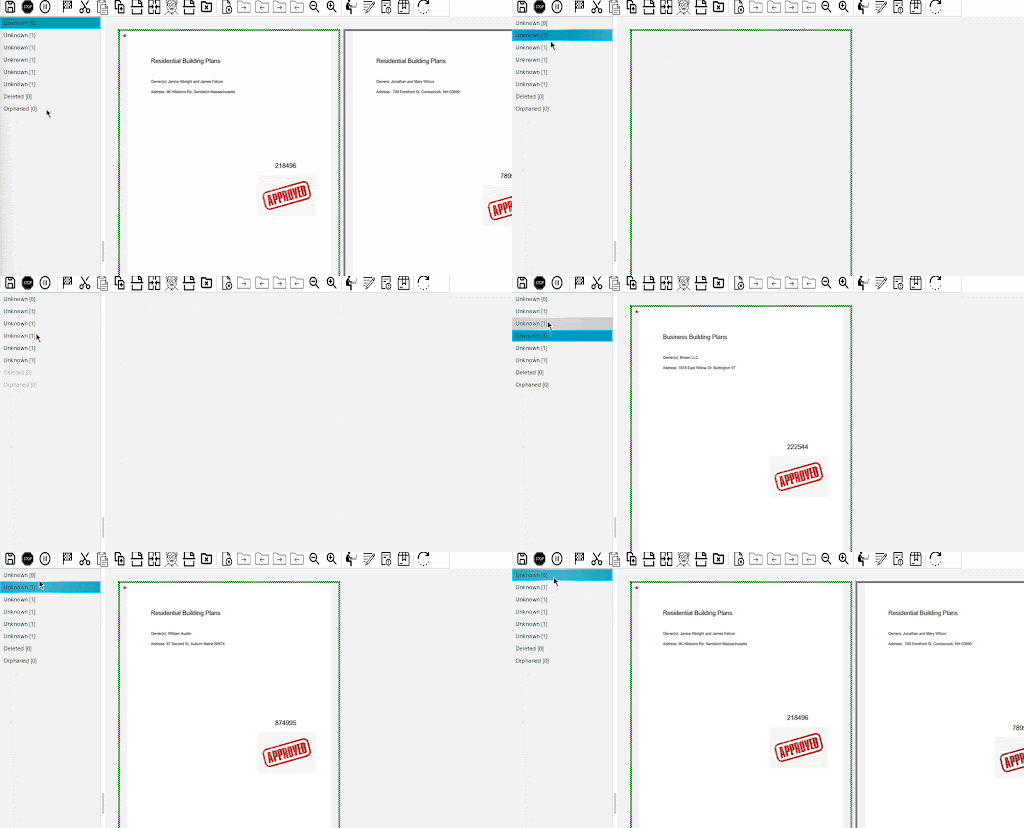
Using your keyboard
On entering ePrep, you will see a green box around the first image in your display and a red star in the top left corner. These are your cursor indicators. You can move these around using the arrow keys.
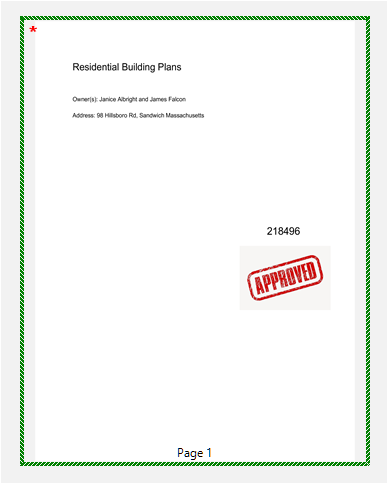
To select the page your cursor is on, press Shift+S.
To Select multiple pages, hold Shift while using the arrow keys.
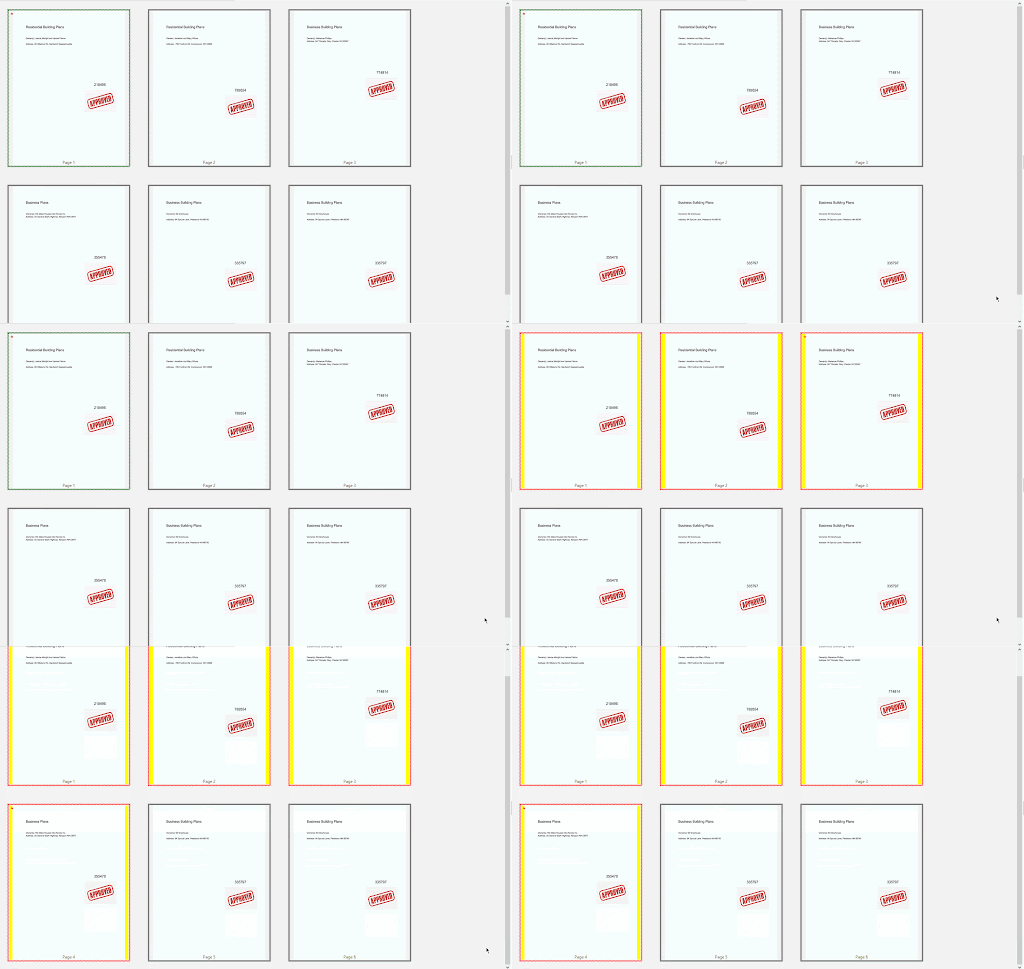
You can also select pages by pressing the Home key on your keyboard. This will start by selecting the first page in the document and repeated presses will select the next unselected page. Using the End key will deselect pages in this same fashion.
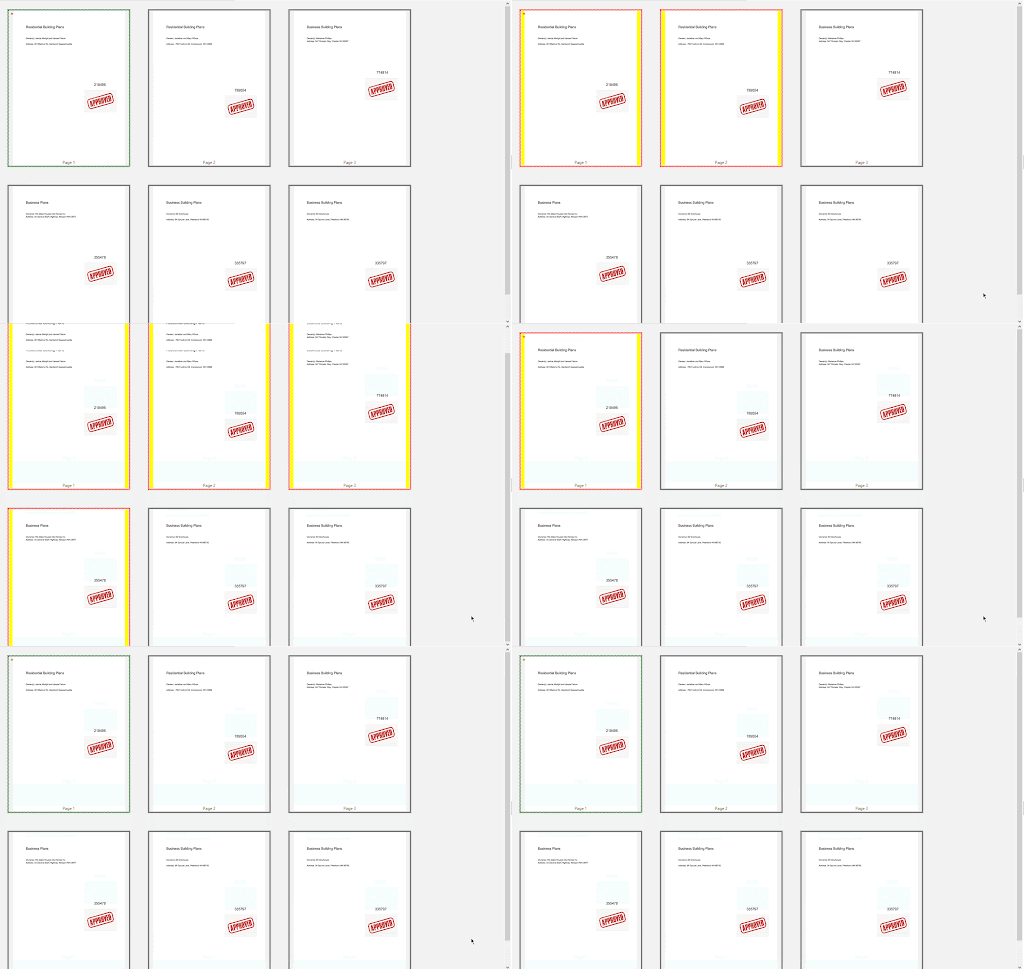
To Change Documents press Ctrl+PgUp to move up the list, or Ctrl+PgDn to move down.
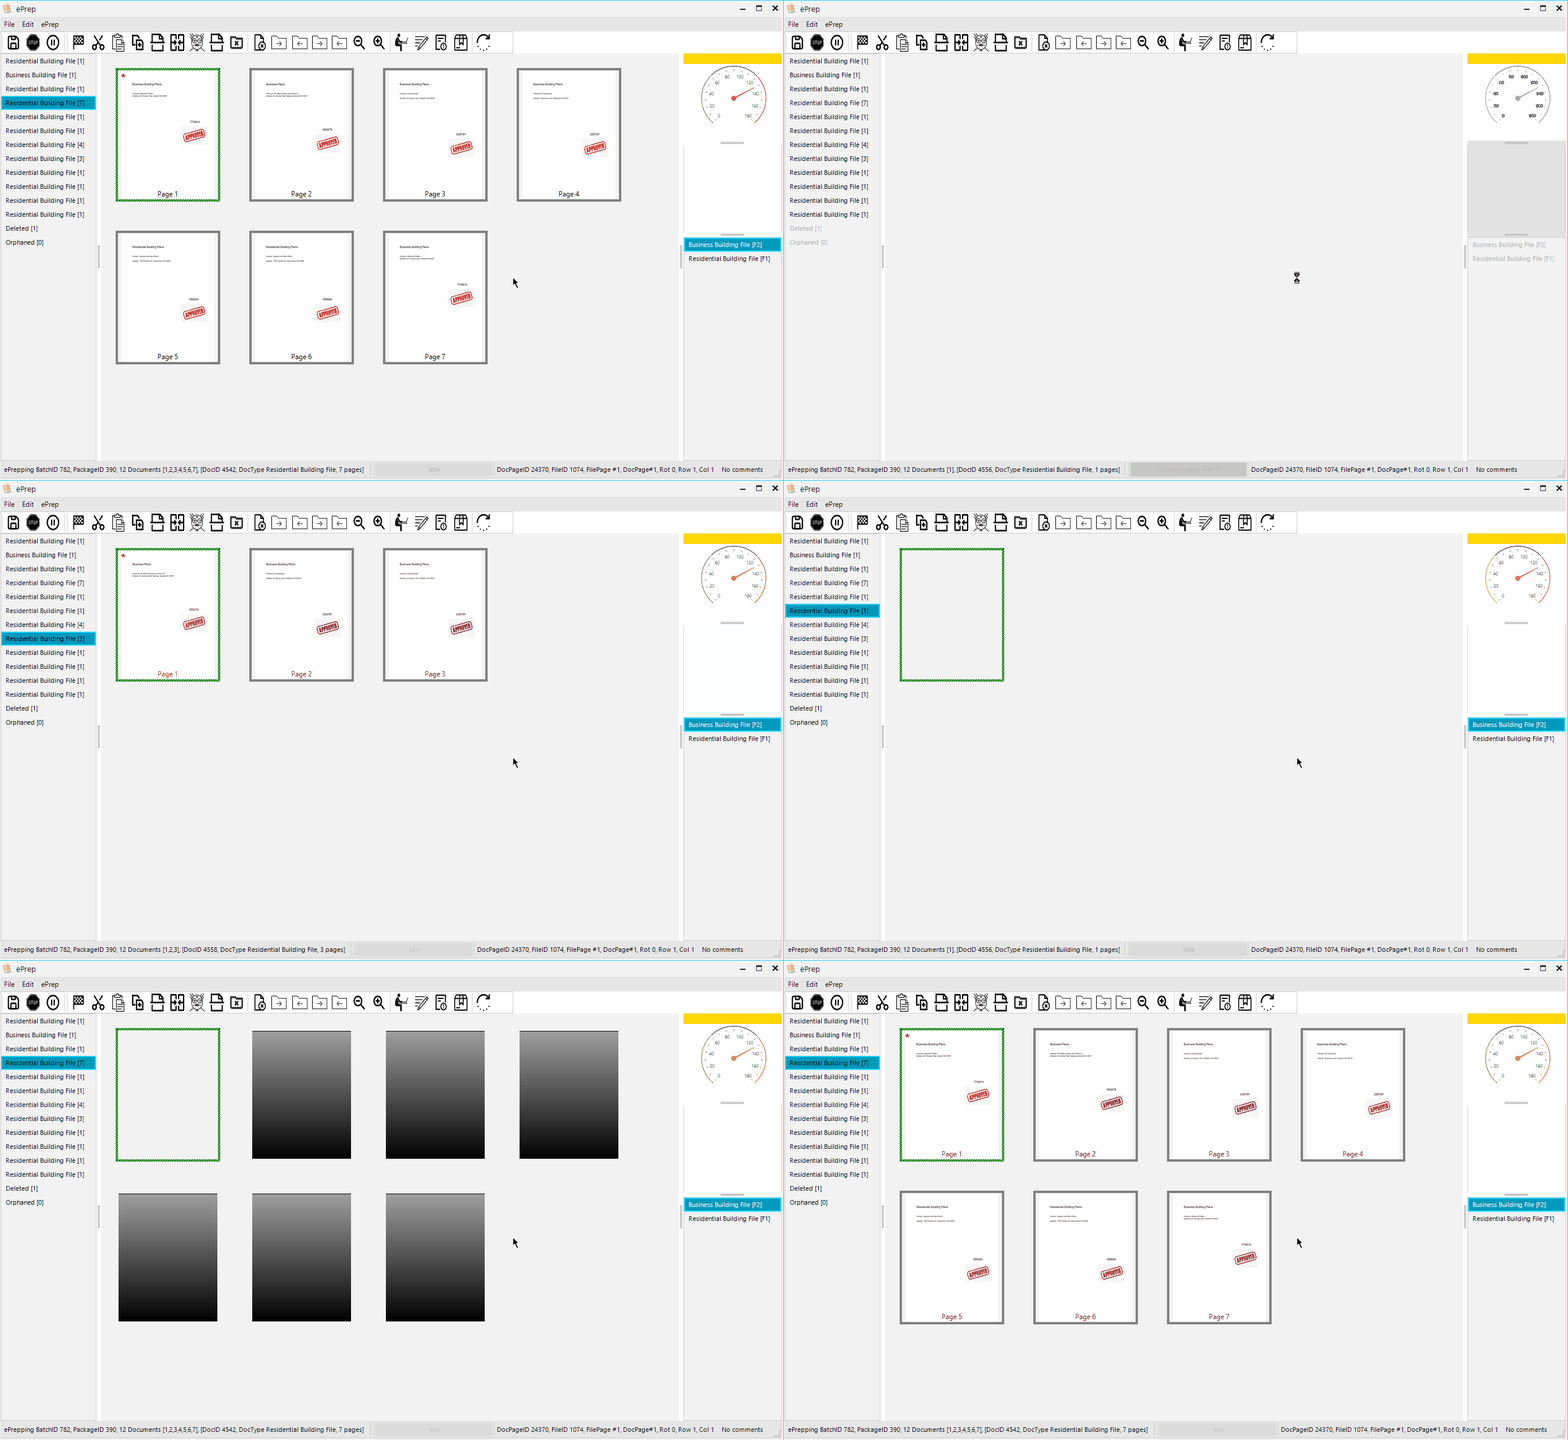
Holding Ctrl+Shift while using PgUp or PgDn will move your currently active document up or down in the list.
Controlling your viewport
To shrink or enlarge the pages in your document, hold Ctrl+Shift and use the Plus ( + ) Key to enlarge, or the Minus ( – ) to shrink the images. (This only applies to your view, and will not actually resize the images)
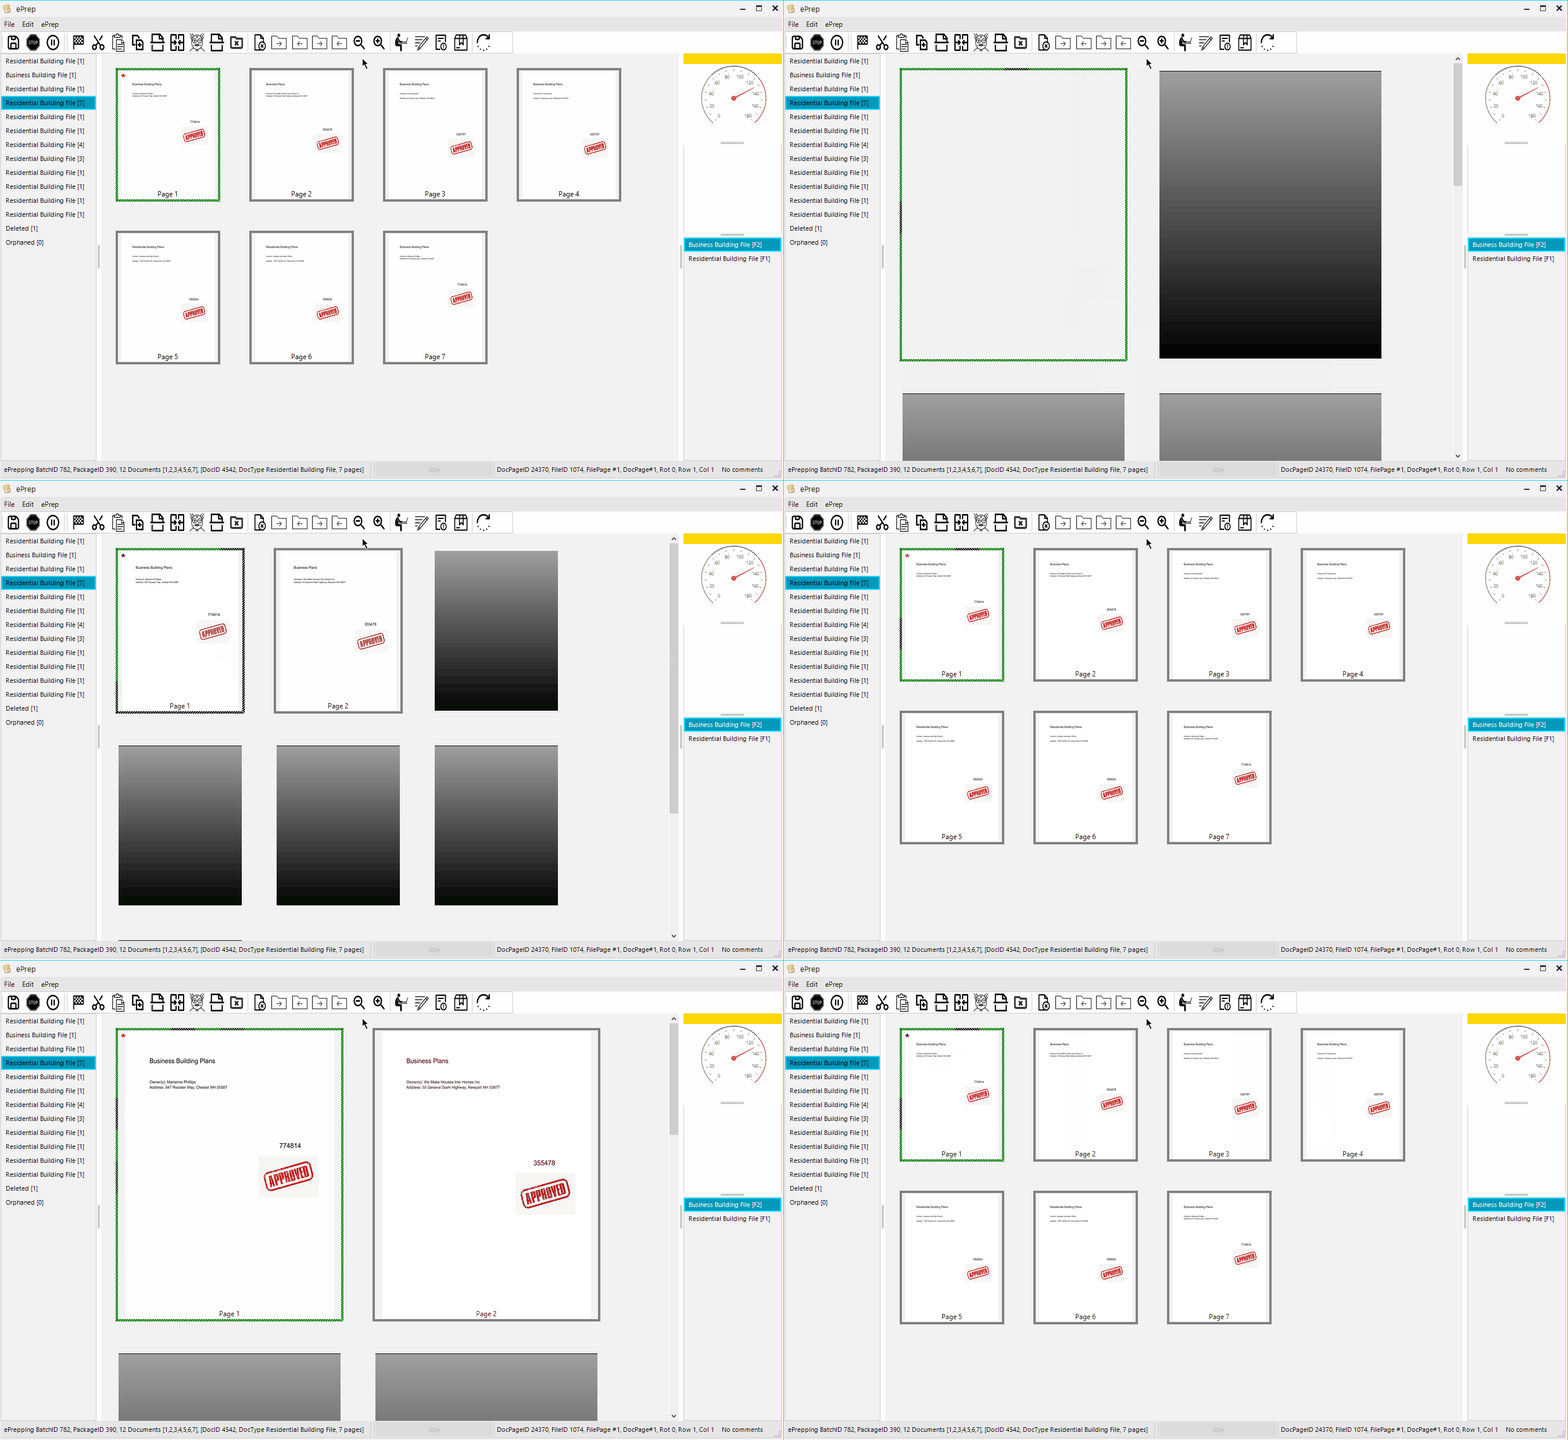
You can also use the Magnifying glass icons in the toolbar to achieve the same effect.
While zoomed in, you can move your view up and down by moving your cursor indicator with the arrow keys, the view will follow along to keep your cursor in view.
If you would like to move your view without also moving the cursor, you can hold Ctrl+Shift while using the arrow keys to move your view independently.
Manipulating Documents
Useful Shortcuts
- Ctrl+A – Select all pages in current document
- Ctrl+N – Deselect all pages in current document
- Ctrl+T – Stop your task
- Ctrl+F – Finish your task
- Ctrl+Shift+/ – Open the Work Instructions
- Ctrl+R – Rotate a page clockwise
- Ctrl+Shift+R – Rotate a page counterclockwise
Splitting
Sometimes images will come in with multiple pages in the same image, two invoices combined on a page, or multiple tax documents. In cases like this, users are able to split the image into multiple images.
- Ctrl+Shift+S – Open the split page window
With the Split Page window open, simply drag on the image with your mouse cursor to draw a box.
When the mouse is released, a new window will appear with a preview of your selection. At this point you can choose the docType from the drop down menu at the bottom of this window, or if there is a shortcut associated with the docType, you can use that.
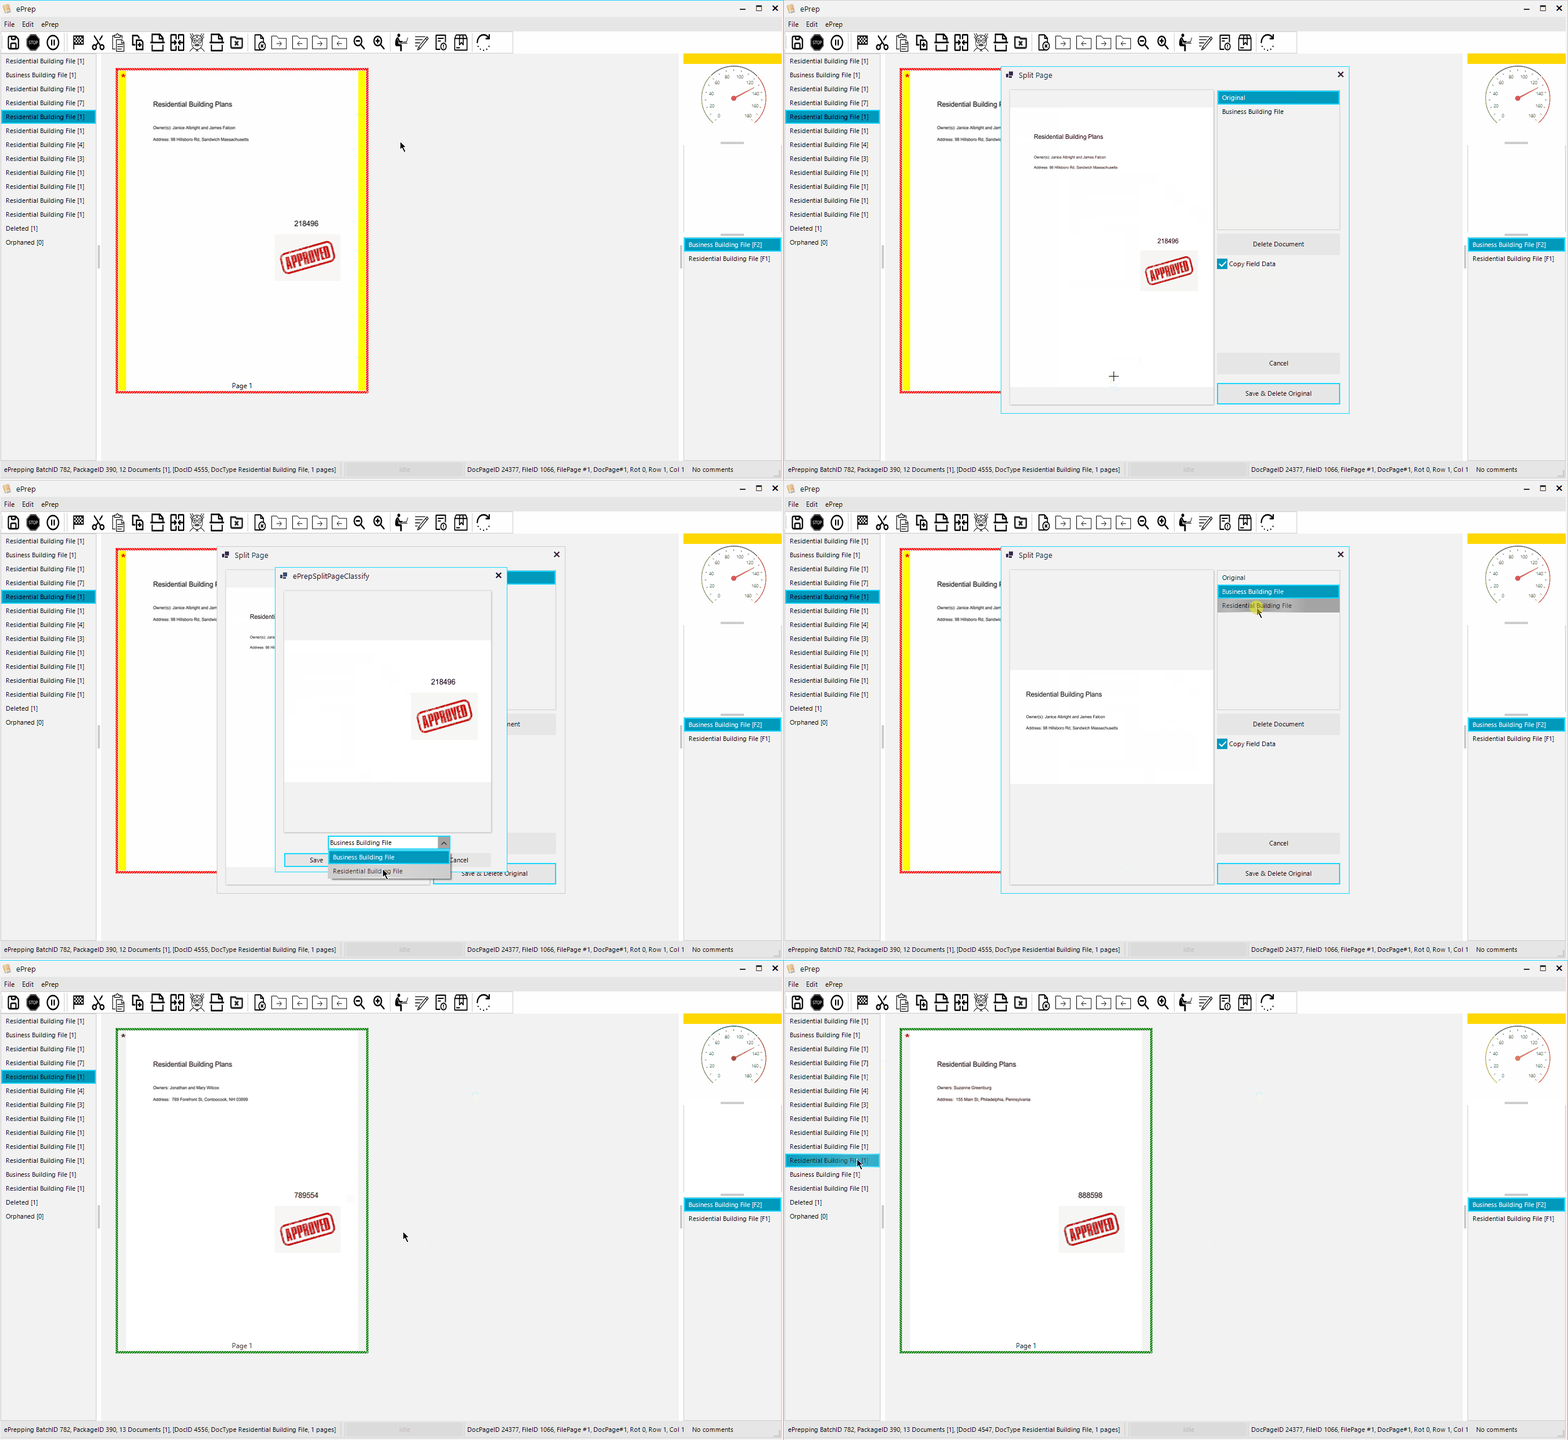
Once you are finished splitting your image, choose “Save and Delete Original”. This will create your new documents and move the original image to the deleted folder.
The original image is not lost and can be recovered if need be.
Duplicating
There may be times you need to duplicate a document. To do this, ensure the document you wish to duplicate is selected, and click the Duplicate Document button, or use Ctrl+Shift+D.
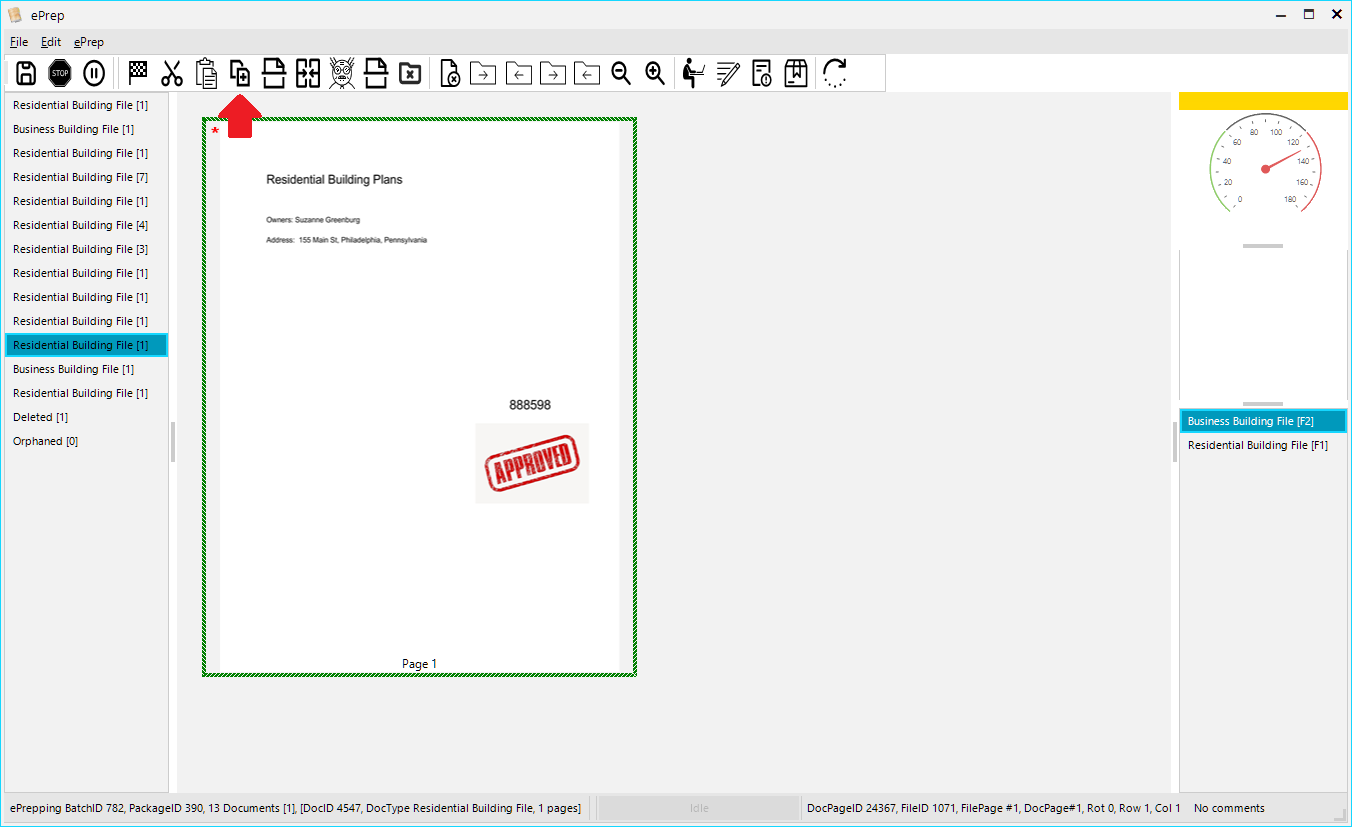
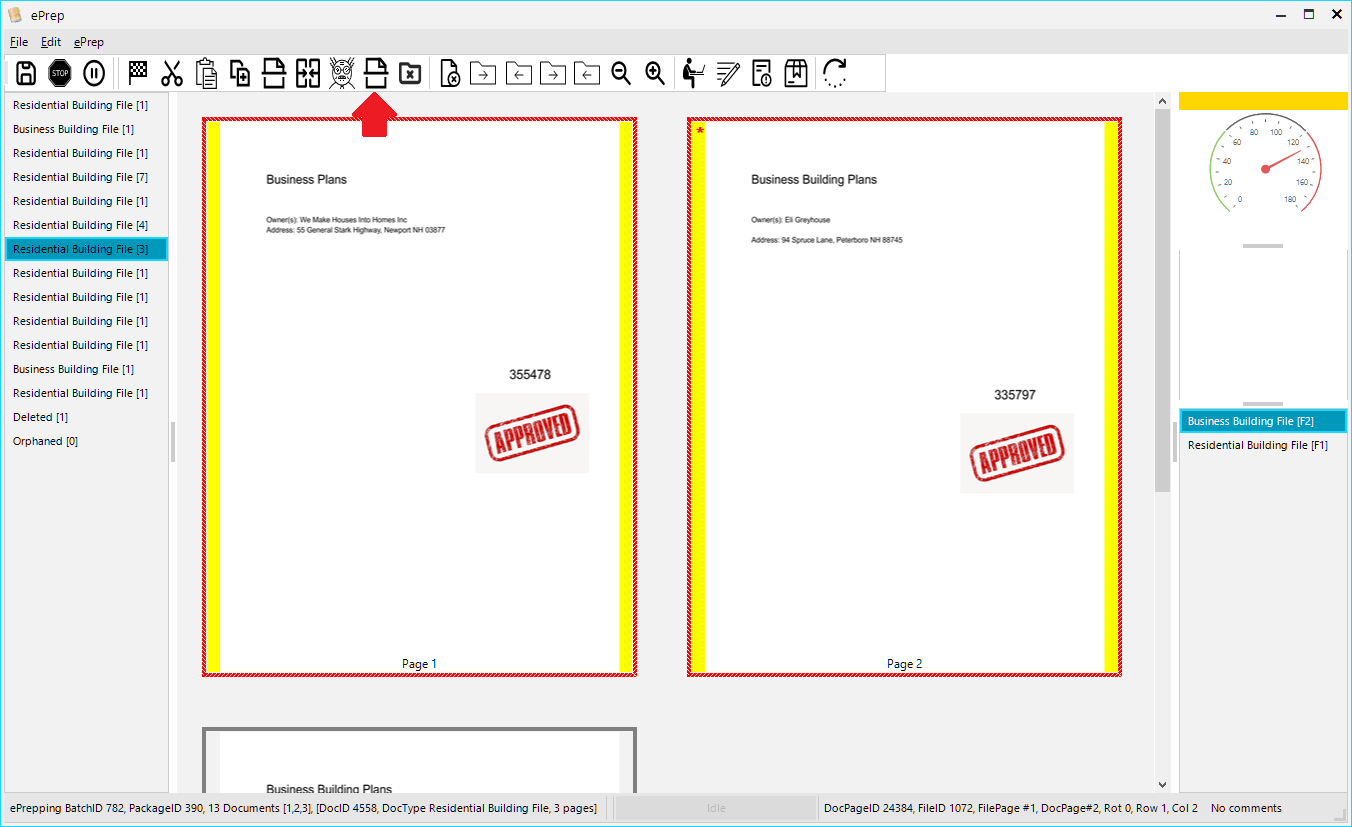
In some other cases, you may want to duplicate a page or pages in a document without duplicating the entire thing. To do this, select the pages you wish to duplicate, and click on the Duplicate Selection button or use Ctrl+D.
This will create the duplicate pages within the same document as the originals, and they can then be selected and set as a new document, or otherwise manipulated the same way as anything else.
Setting Doc Types
To set a docType, Select the pages you want to set, and double click on the doc type name in the column on the right of your screen. If there is a shortcut associated with a docType you can use that instead of clicking.
If you would like to set an entire document to a different type, you can do so without selecting any pages, simply choose the docType from the list or use the shortcut key with nothing selected, and it will set your currently selected document to that type. You can also use Ctrl+A to select all of the pages if you like, but it is not necessary.
There are some other options when setting a docType:
- Shift+Enter – Set current selection to the same DocType as the previous document
- Ctrl+Enter – Combine your current selection with the most recently created document
- You can also cut and paste pages from one document to another using Ctrl+X to cut your selection and Ctrl+V to paste your cut pages into their new home
Setting flags for Extraction
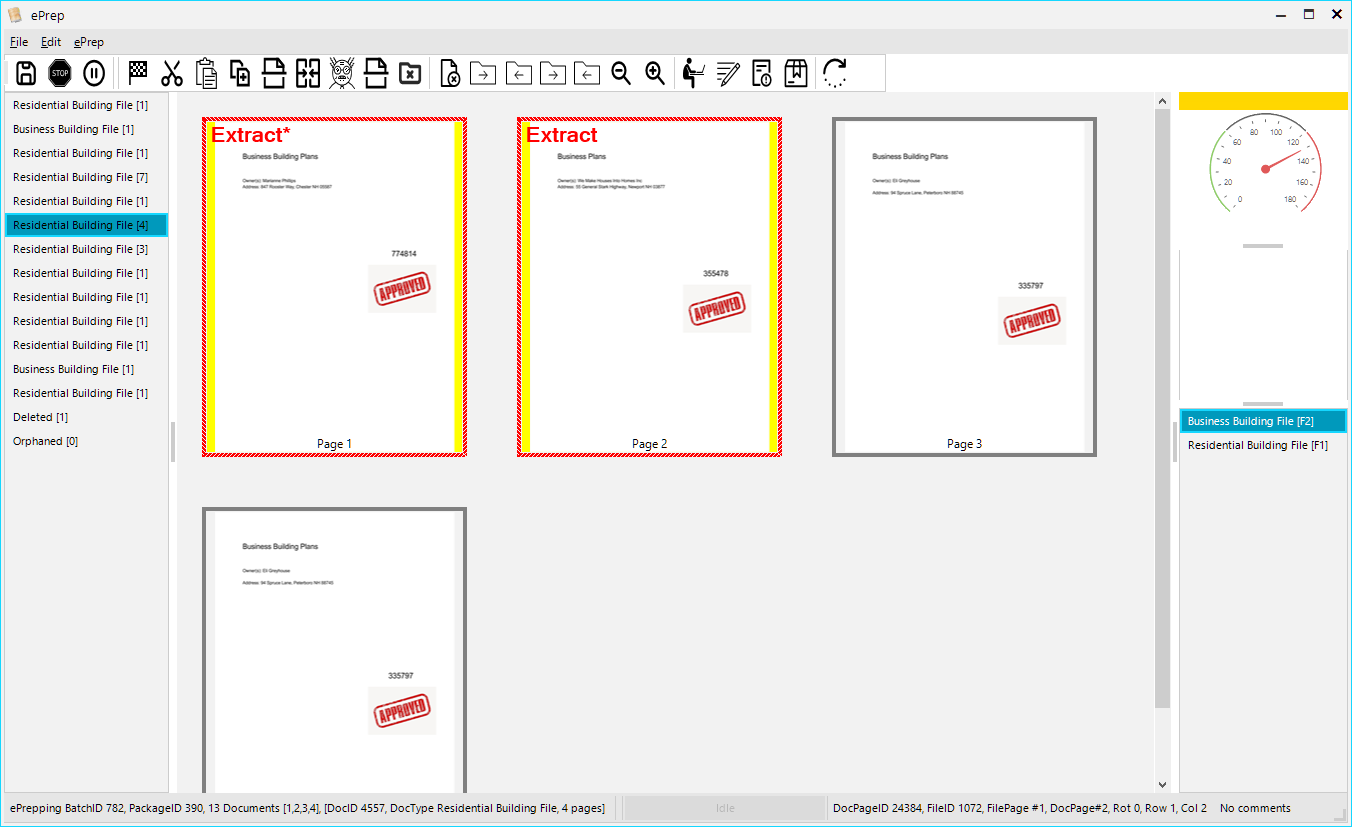
If you are going to be using Extraction in your projects, you will likely need to set extract flags on the pages you want to be run through your extraction software. This will save you from paying to extract pages that do not have information you need.
To set an extract flag, Select the page or pages you want to mark for extraction and press the Insert key. This will show an *Extract marker at the top left of the selected pages.
Finishing ePrep
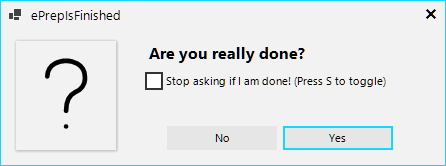
When you have finished setting all of your documents to a DocType, a prompt should appear asking you if you are really done. If you are you can click on Yes and the package will be finished and you will be moved onto the next package.
If you are not finished, say for instance you realize you’ve made a mistake and need to change a document to a different type, you can click No and go back to editing. You can also prevent this dialogue box from appearing the next time you set a docType by selecting the “Do not ask again” box and then clicking no, or by simply pressing S on your keyboard.
If you have told the system to stop asking, or if you are editing a previously finished package, you can use Ctrl+F to finish the task, or click on the Finish Task button in the toolbar at the top of the screen.
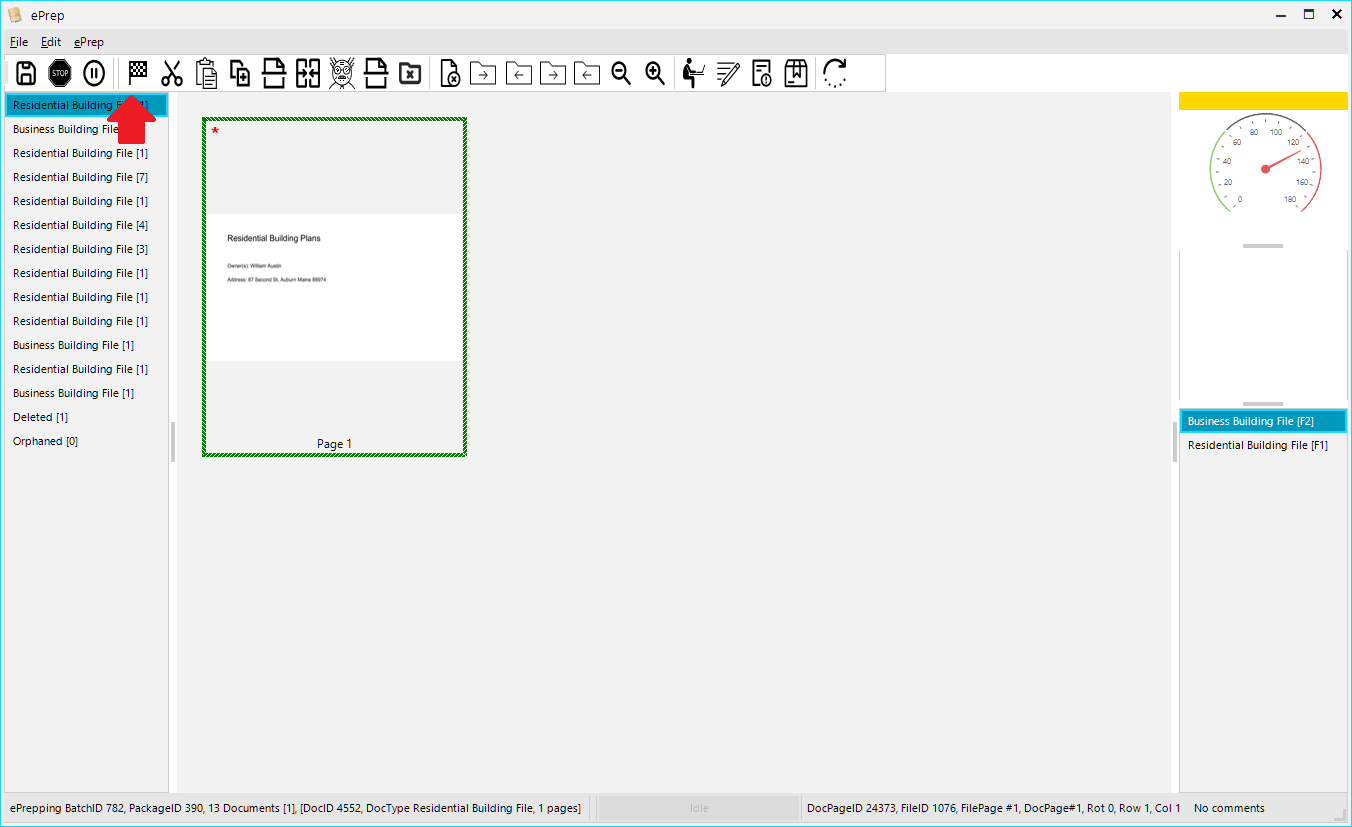
If you would like to stop prepping without finishing the task, you can use Ctrl+T or click on the Stop Task button in the toolbar at the top of the screen.
