Projects are what drives your production, everything you do from creating batches to indexing in PACE Data Capture will require an associated project. In this article we will walk through the project creation wizard.
Before You Begin
You will need the following
- A Customer created
You will also need the following permissions
- Login
- Admin – Settings
- Admin – Settings – Customers
- Admin – Settings – Customer – Edit
- Admin – Settings – Project – Create
- Admin – Settings – Project – Edit
Accessing the Project Wizard
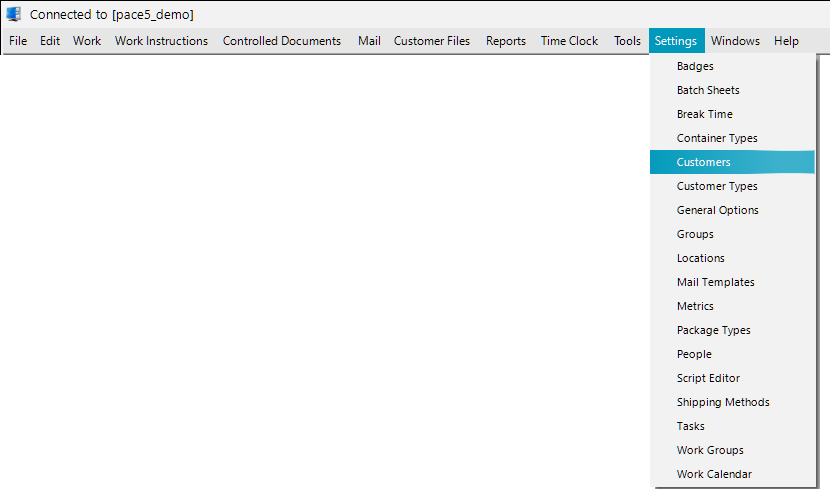
Once you’ve logged into PACE Admin you will access the Customers window by clicking Settings and then Customers. Your options may be different than the ones in the below image, that is normal depending on your current permissions.
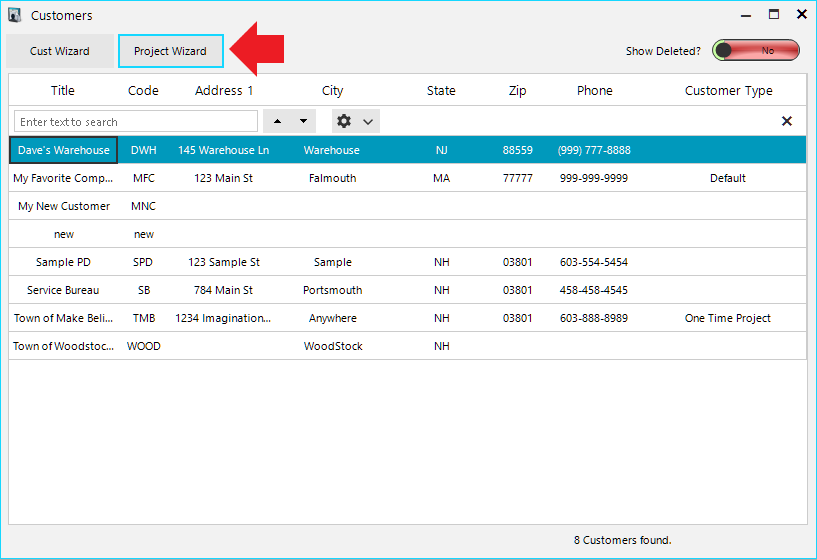
From the Customers window you can select the customer you wish to create a project for, and then click on the Project Wizard button.
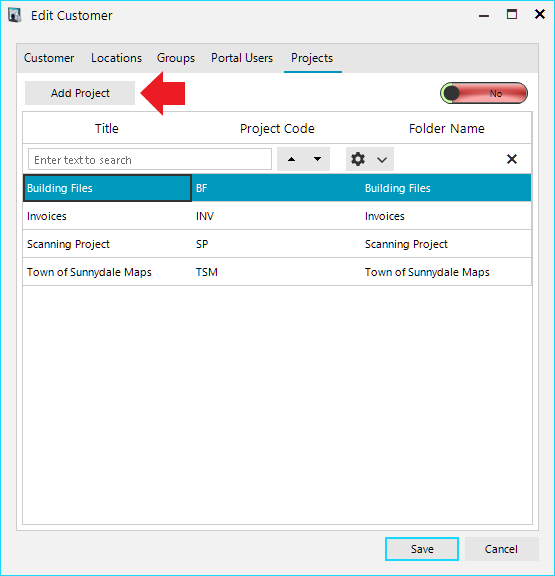
Alternatively you can double click a customer to open the Customer Information window, click to the Projects Tab, and then click Add Project.
The Wizard
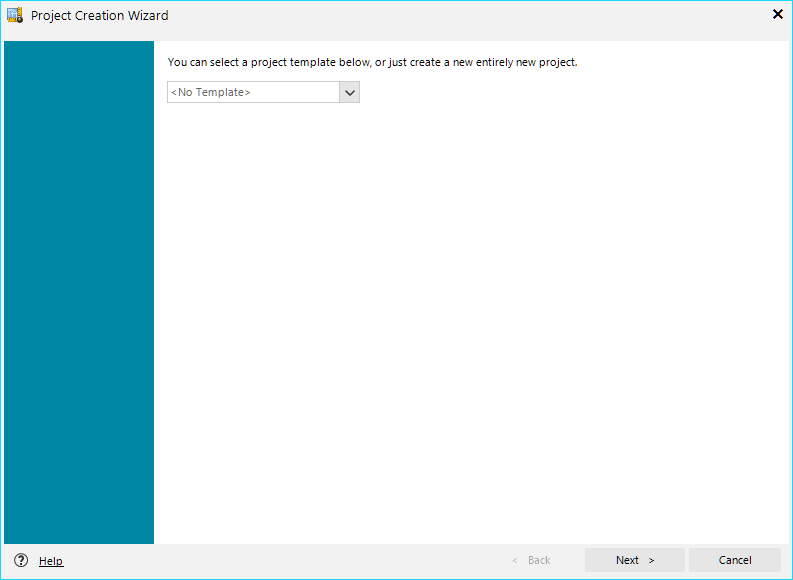
With the Wizard open, the first thing it will ask you is if you would like to use a Template. If you do, choose the template from the dropdown list and choose next. Otherwise simply choose Next to move on.
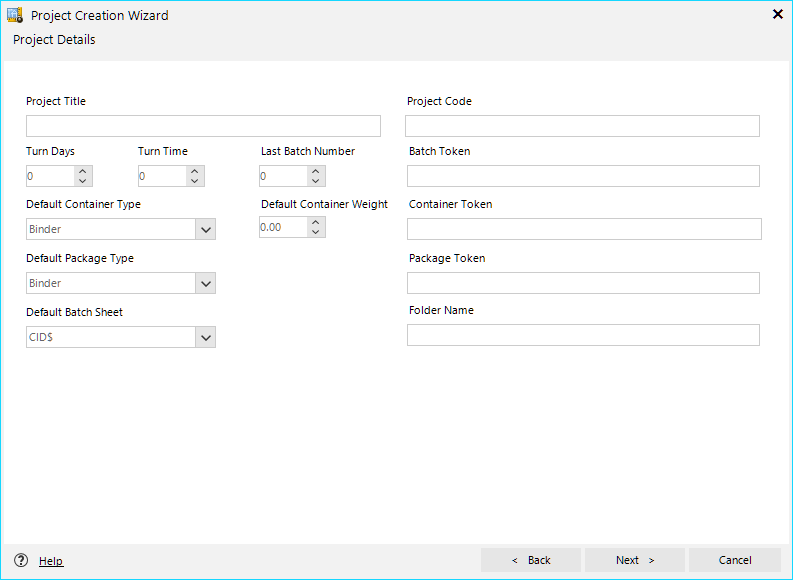
The second page will be Project Details. Here we will go over some of the fields found on this page.
The following fields are required for creating a project:
- Project Title
- Project Code
- Batch Token
- Folder Name
Project Title – Should describe what the project is. Something like Invoices, Property Files, or Mailroom. Since the project is tied directly to a customer you do not need to include the customer in the project title.
Project Code – This can be anything you want, typically we would use a short two or three letter code “MCM” for “My Company Mail” that will appear on transmittal sheets created by the system.
Turn Days – The number of days after a batch is created that it will be due by.
Turn Time – The time of day (in 24 hour format) that a project will be due. Note: This is not like Turn Days in that it is not adding time to the created time, this is setting a time of day. 17 would be 5PM regardless of when the batch was created.
Last Batch Number – This is useful if you are transferring a project into PACE and would like the batch numbers to continue from where they left off in your previous system.
Batch Token – A token to be used when the system names a new batch.
Default Container Type – If you have multiple container types set up in your system, you can choose what this project will default to when creating a new batch.
Default Container Weight – If your containers will typically be the same weight, you can set that default weight here to avoid entering it each time you create containers.
Container Token – A token to be used when the system names a new container.
Default Package Type – If you have multiple package types set up in your system, you can choose what this project will default to when creating a new batch.
Package Token – A token to be used when the system names a new package.
Default Batch Sheet – If you have multiple Batch Sheets set up in your system, you can choose what this project will default to when creating a new batch.
Folder Name – This will be the name of the folder created in your Repositories. The repository itself will be created in the location set up in your Admin General Settings.
When you’ve finished filling out as much of this page as you would like to, you can go ahead and click Next. All of this information can be changed later as well.
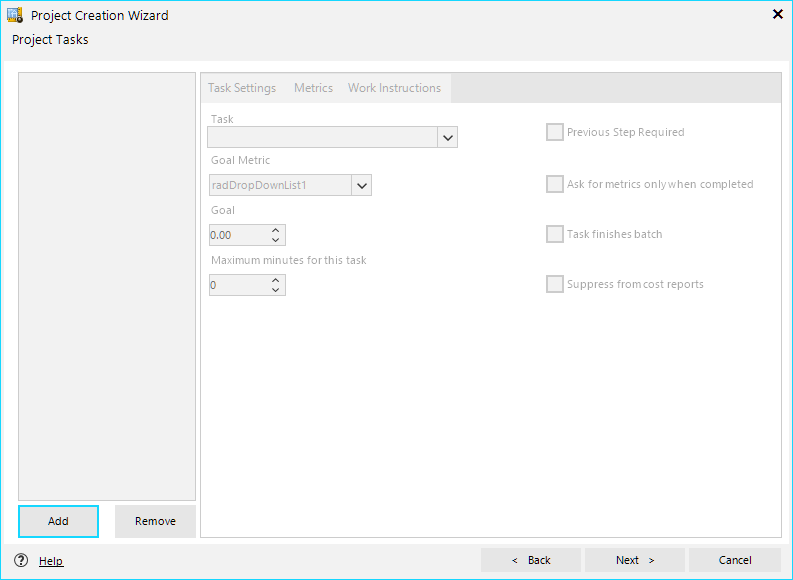
The next screen will be your Tasks screen. Here you can add all of the tasks you would like to include in the project, as well as set up several task related options such as Metrics and Work Instructions. You can always add or remove tasks later on as well from the Advanced Project Edit screen.
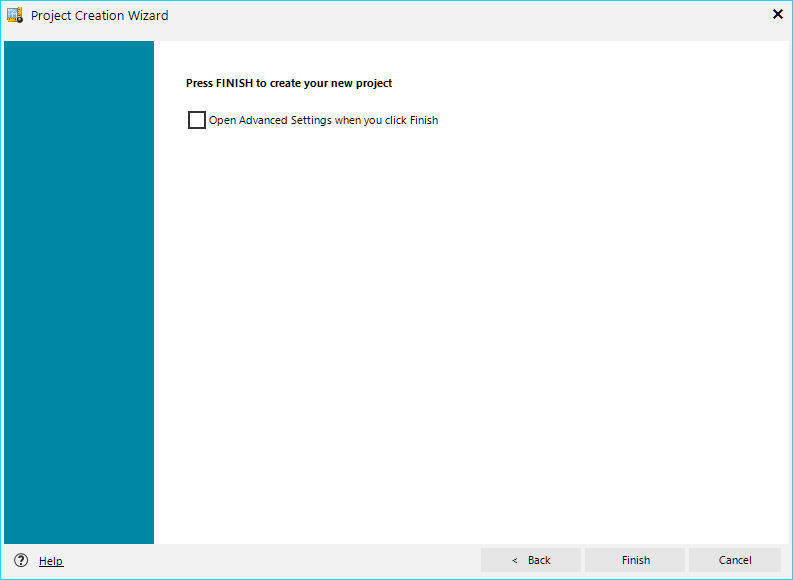
The next and final screen is simply a checkbox to decide whether or not you would like to immediately go into the Advanced Project Settings. If you do, select the box and then click Next, otherwise simply click next to finish setting up your project!
Advanced project settings will have things like your docTypes, Indexing fields if you are going to be using PACE Data Capture with this project, and import/export profiles. All of this will be covered in a different article.
