All work done within the PACE system will be tied to a Customer. This is where projects are set up, and works as a way to organize tasks and metrics. In this article we will go over how to create a customer in PACE Admin.
Before You Begin
You will need the following permissions
- Login
- Admin – Settings
- Admin – Settings – Customers
- Admin – Settings – Customer – Create
Accessing the Customer Wizard
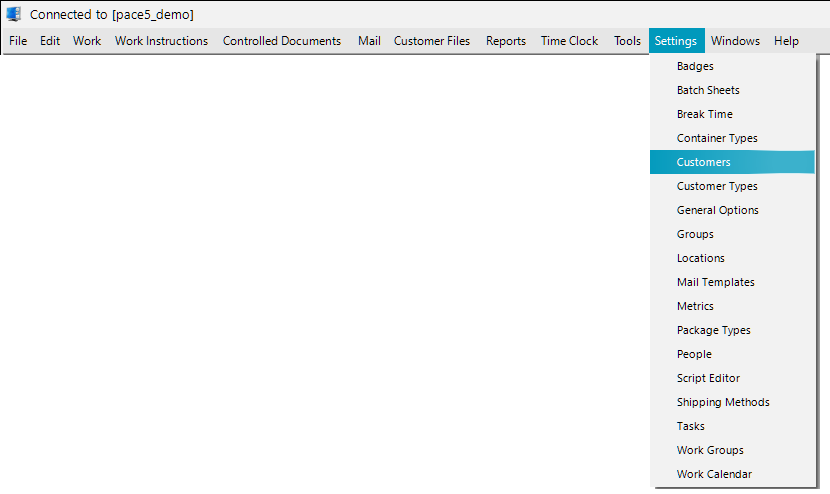
Once you’ve logged into PACE Admin you will access the Customers window by clicking Settings and then Customers. Your options may be different than the ones in the below image, that is normal depending on your current permissions.
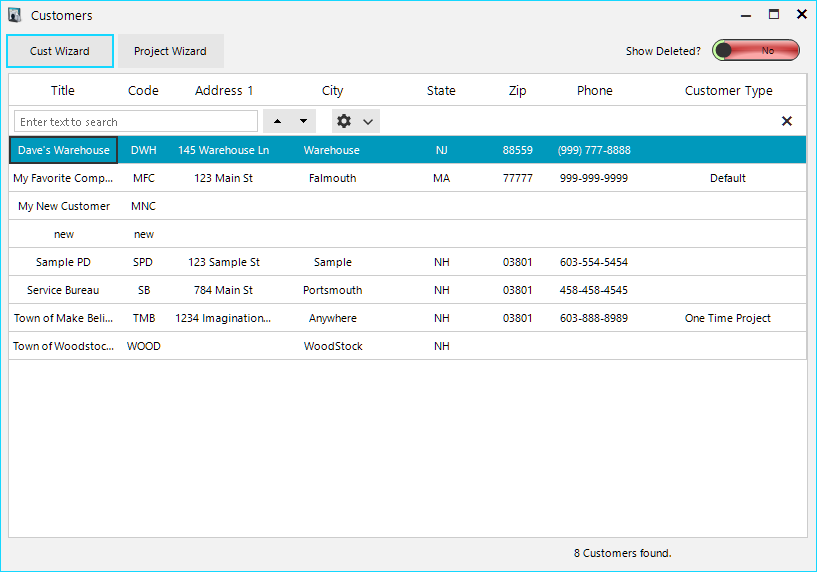
With the Customers window open, you can click on the Cust Wizard button to open the Customer Creation Wizard. This will walk you through creating a new customer.
The Wizard
The Wizard will guide you through setting up a customer, but we’ll go a little more in depth with what some of the settings are for.
Customer Information
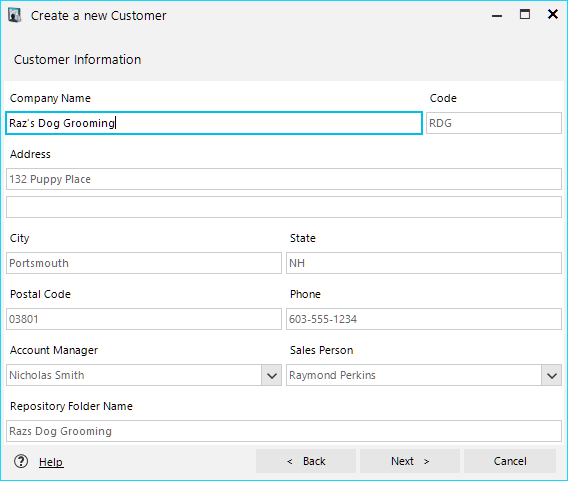
After the initial window, the first thing you will see is the Customer Information page. Company Name and Repository Folder Name are the only required fields on this page.
The Repository Folder Name will automatically fill in with the Company name, but can be changed if you would like to.
Repositories will be automatically created based on the location setup in your General Settings.
Code is a short code you can create which will appear on auto-generated transmittal pages when creating batches in PACE Production.
Customer Locations
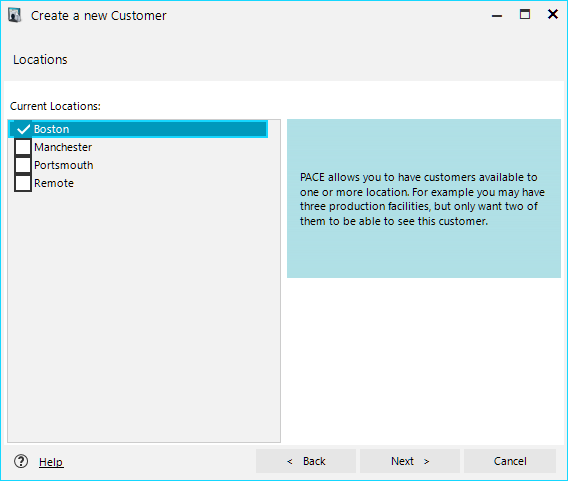
The next screen will allow you to choose which of your Locations this job will be worked from. Users will only be able to work on a project from a customer that shares a location with the user.
Portal Users
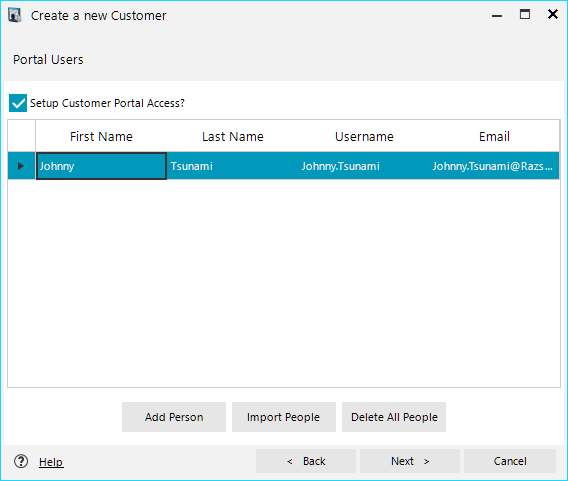
On the next screen you will be able to add users to the associated customer portal. Users can be added one at a time or in bulk. Portal users can also be added, removed, or changed at any time after creating a customer.
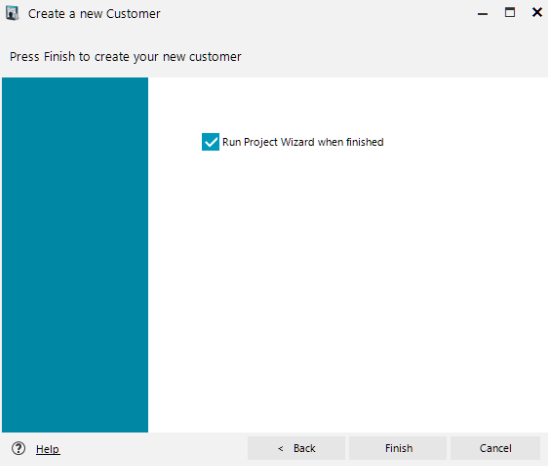
Once you have all of this done, your customer is ready to be created. Simply click Next and choose on the last page whether or not you want to go straight into setting up a project.
