Before you start
To begin Indexing or doing QC you must do the following
- Include the Index and/or QC tasks in your Project Setup
- Complete the previous tasks, if required in Project Setup
You will also need the following permissions
- Login
Entering Index/QC
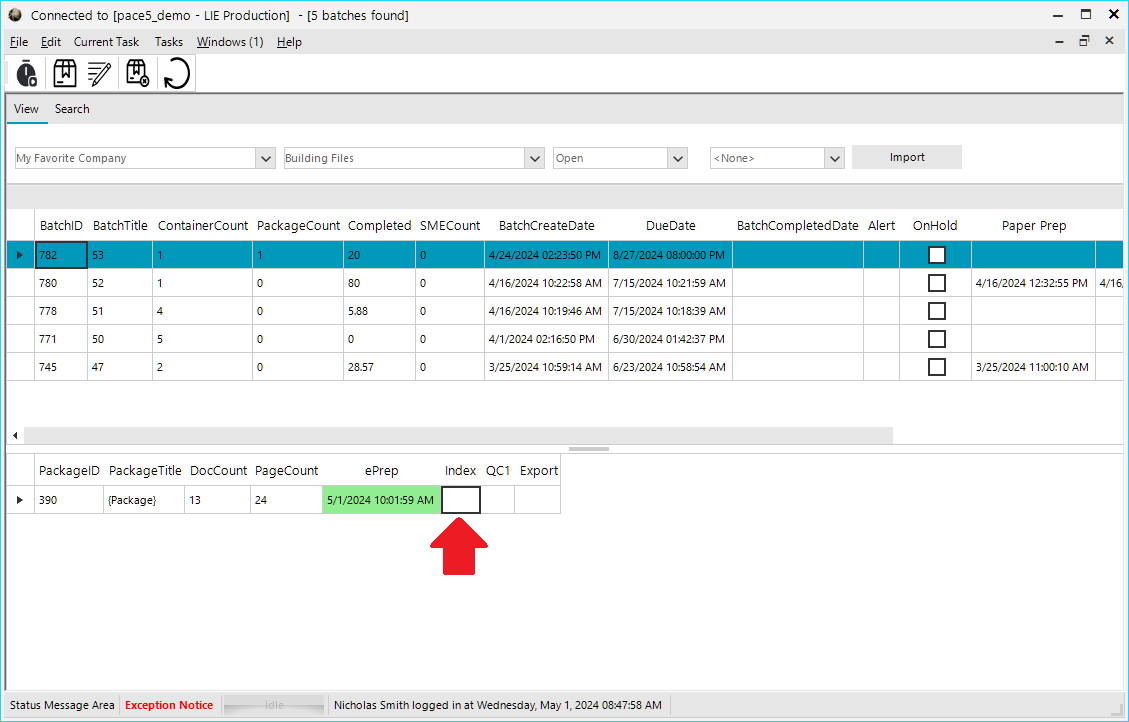
From the batch view screen, navigate to the Customer and Project you want to work on.
Select a batch and double click on the Index or QC cell on the package.
Using Index/QC
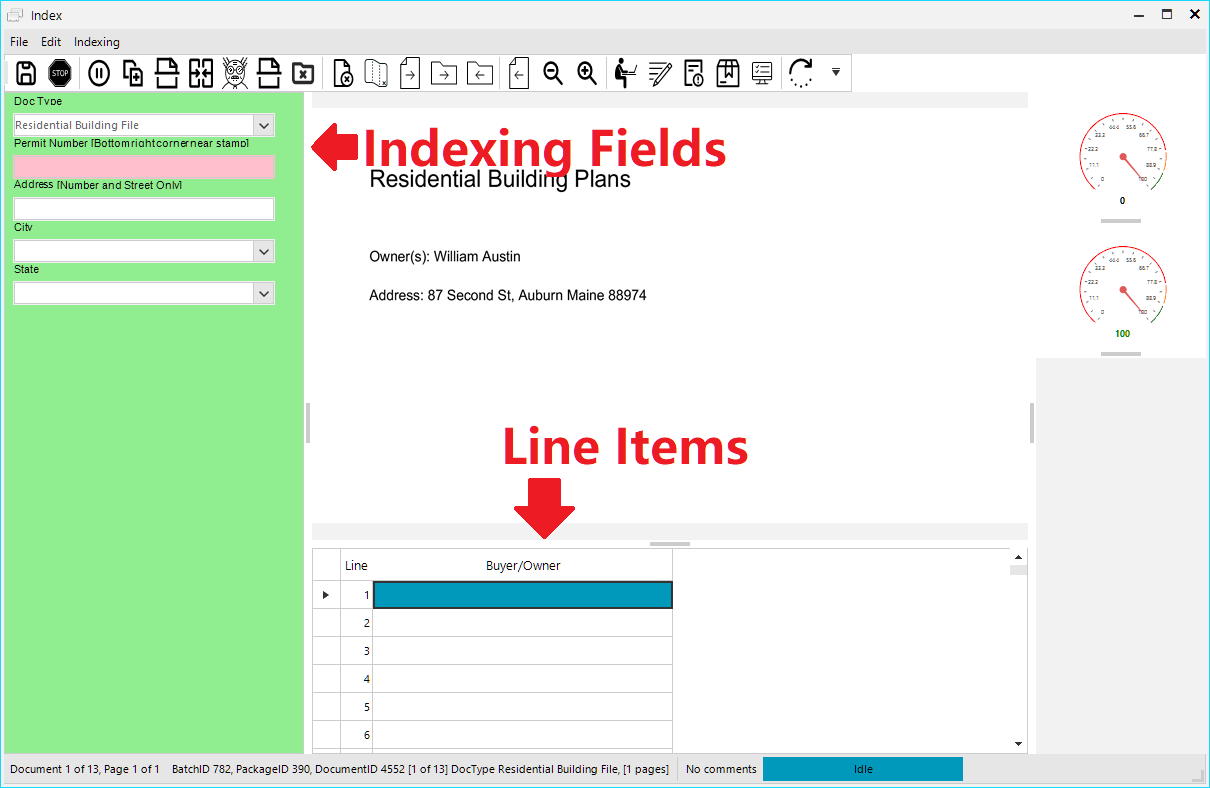
The Index/QC Screen layout. The color of the left-column indicates the task.
- Green = Index
- Purple = QC1
- Yellow = QC2 & QC3
Apart from the color of the indexing fields, the window will look and behave the same way across all Indexing and QC Tasks.
Navigating Index/QC
To Switch Pages press PgDn to go to the next page, and PgUp to go back to the previous page. Alternatively you can use the next and previous page buttons in the toolbar.


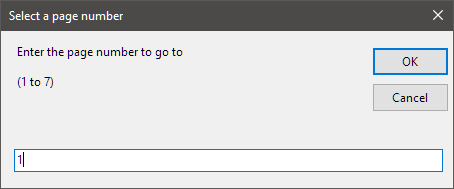
To Jump to a specific page, you can press Ctrl+Shift+J to open the Jump dialogue box, then type in the page number you want to move to and select OK.
To Switch Documents press Ctrl+PgDn to go to the next document and Ctrl+PgUp to go back to the previous document. Alternatively you can use the Next and Previous document buttons in the toolbar.


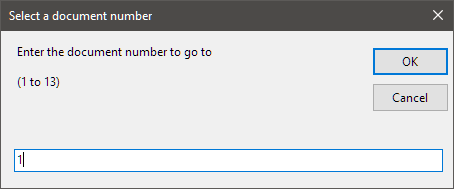
To Jump to a specific document, you can press Ctrl+J to open the Jump dialogue box, then type in the document number you want to move to and select OK.
Controlling the view
To change the size of a page you can use Ctrl+Shift+Plus(+) to zoom in and Ctrl+Shift+Minus(-) to zoom out. Alternatively you can use the zoom buttons in the toolbar at the top of the screen.

While zoomed out from a page, the page will stick in the center of the screen and cannot be moved around. If you zoom into a page to the point where portions of the image are being cut off you can scroll up and down with the mouse wheel, or use Ctrl+Shift+Arrow Keys to move the image in any direction.
Indexing Fields
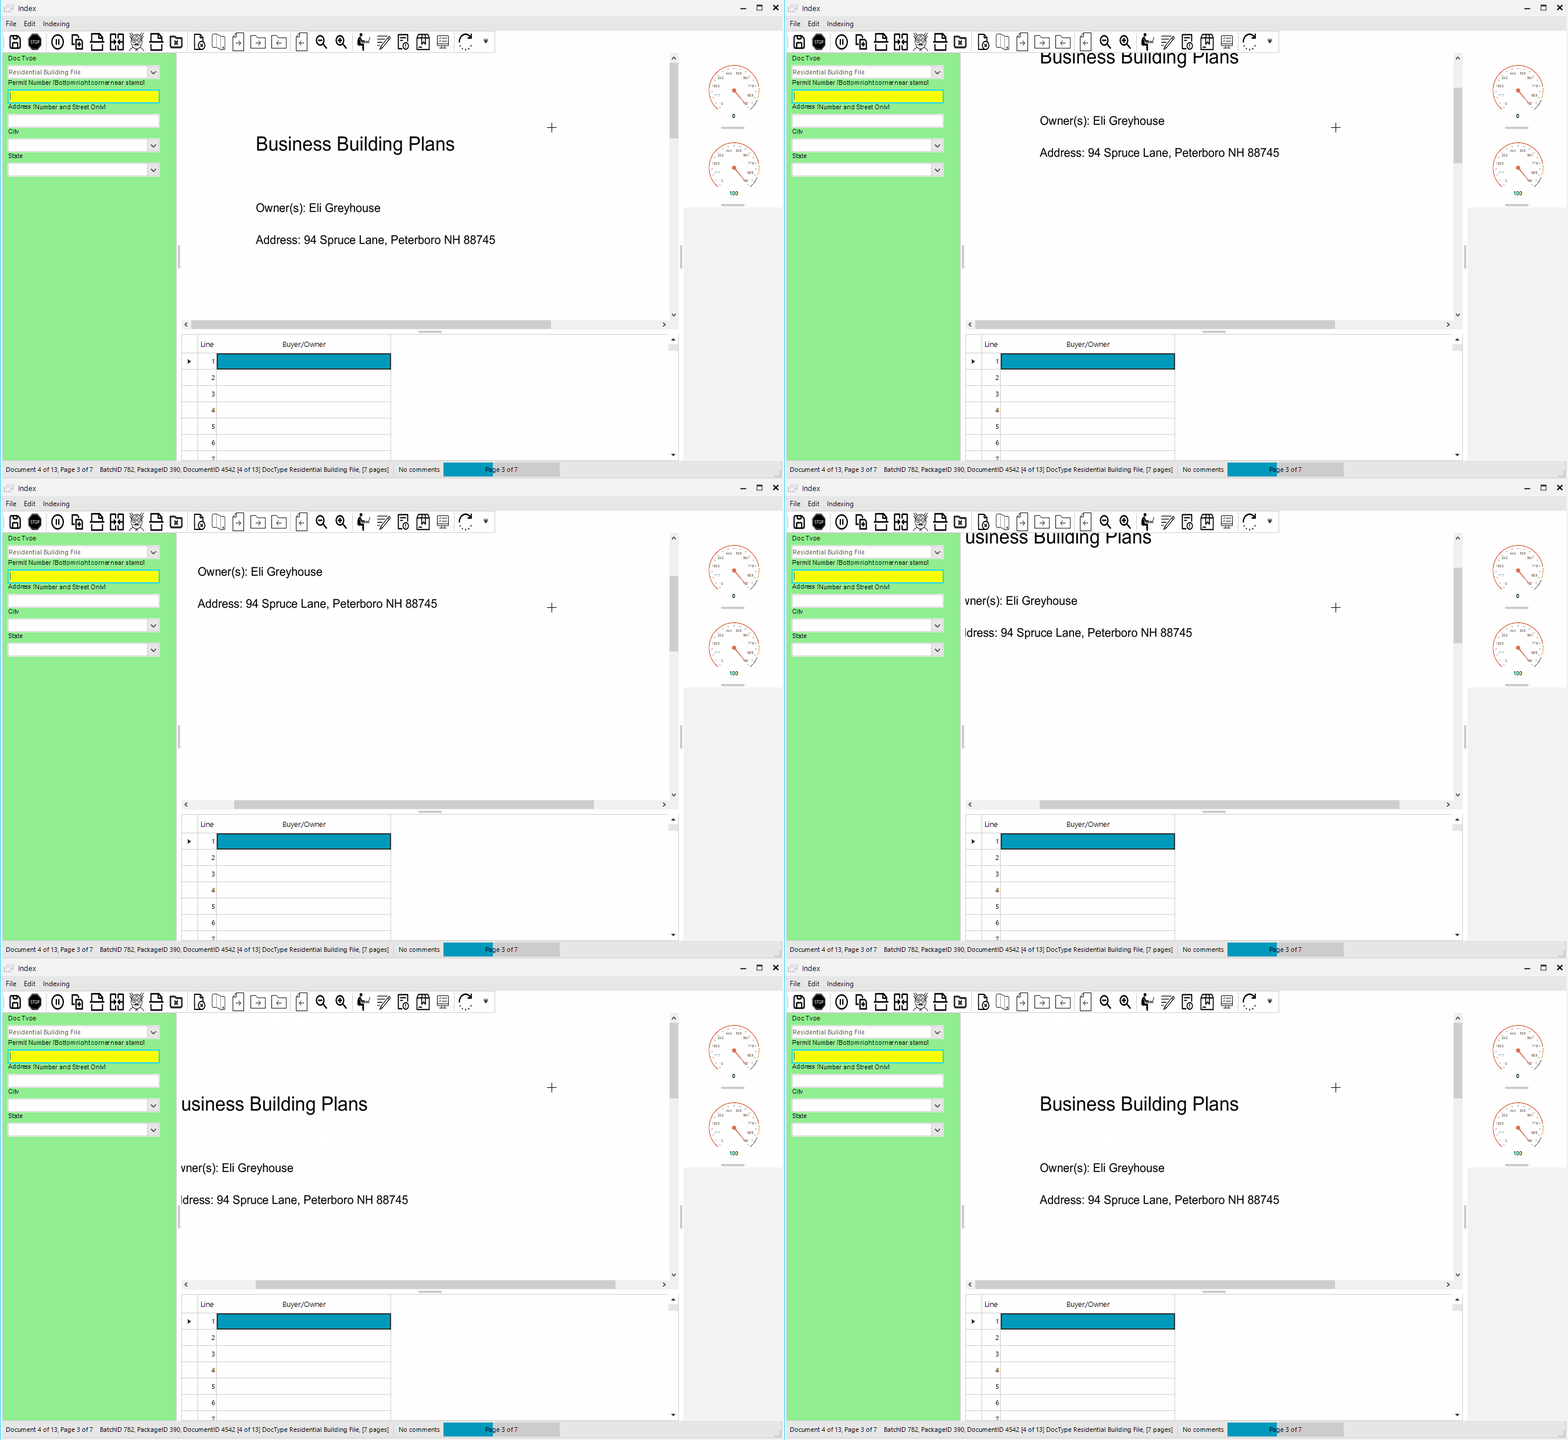
Indexing fields are very straight forward, text fields can have information directly typed into them, drop down fields can sometimes be typed in to search the library (If the setting is enabled in Project Setup).
Users can press Tab to move to the next indexing field, or Shift+Tab to move back up.
Some handy Indexing Field shortcuts:
- F4 – Push the value from the current field to the same field in all previous documents.
- F5 – Push the value from the current field to the same field in all subsequent documents.
- F6 – Push the value from the current field backward and forward to all other documents.
- F9 – Pull the value from the selected field in the previous document.
Rope OCR
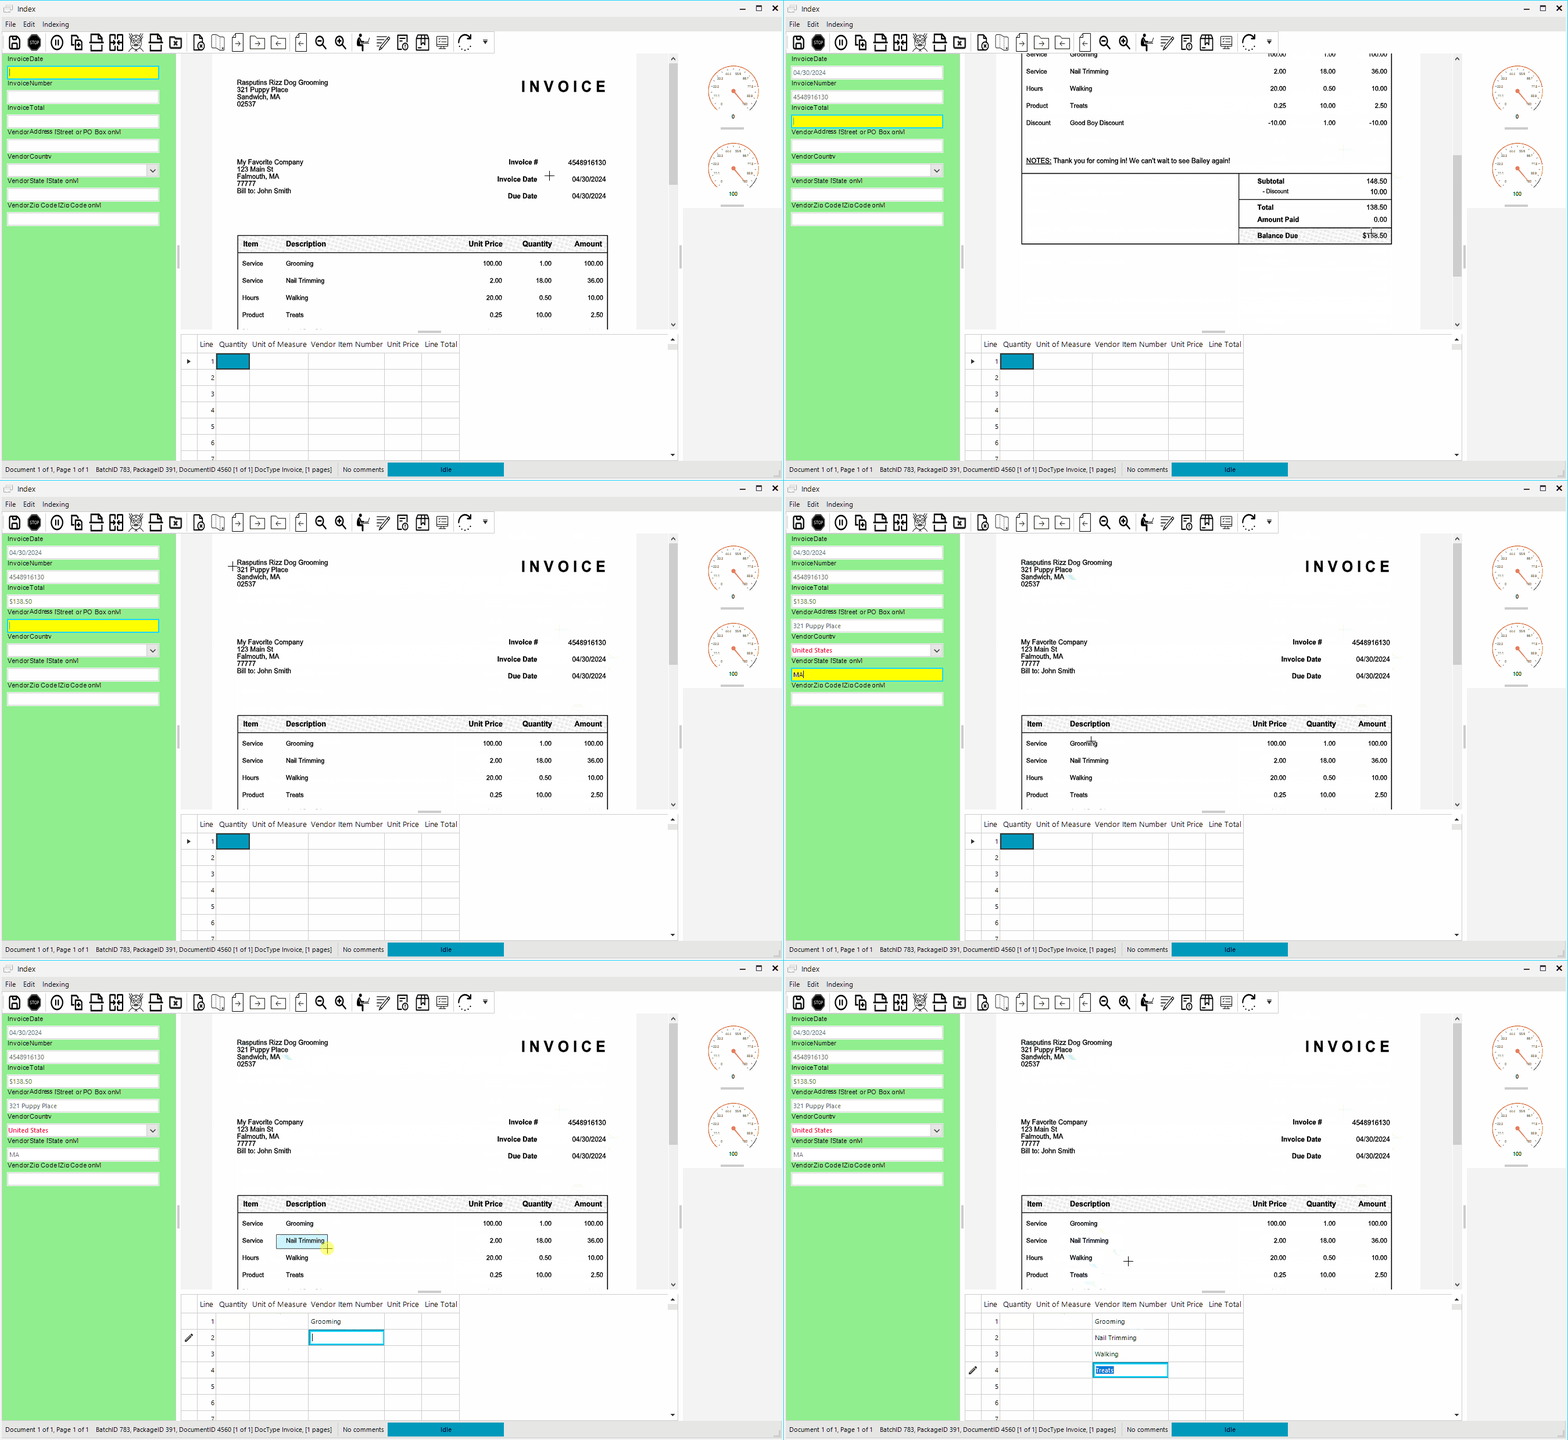
Users can use Rope OCR to automatically copy text from an image into an indexing field or line item. To use this, select the field or line item field you want to copy to, and use your mouse to draw a box around the data you want to capture. This will then automatically enter the captured text into the selected field.
Line Items
Line items are most commonly used for capturing information like individual charges on an invoice. PACE Data Capture has a built in Line items system that can be used in conjunction with extraction to vastly improve the speed at which this information can be captured.
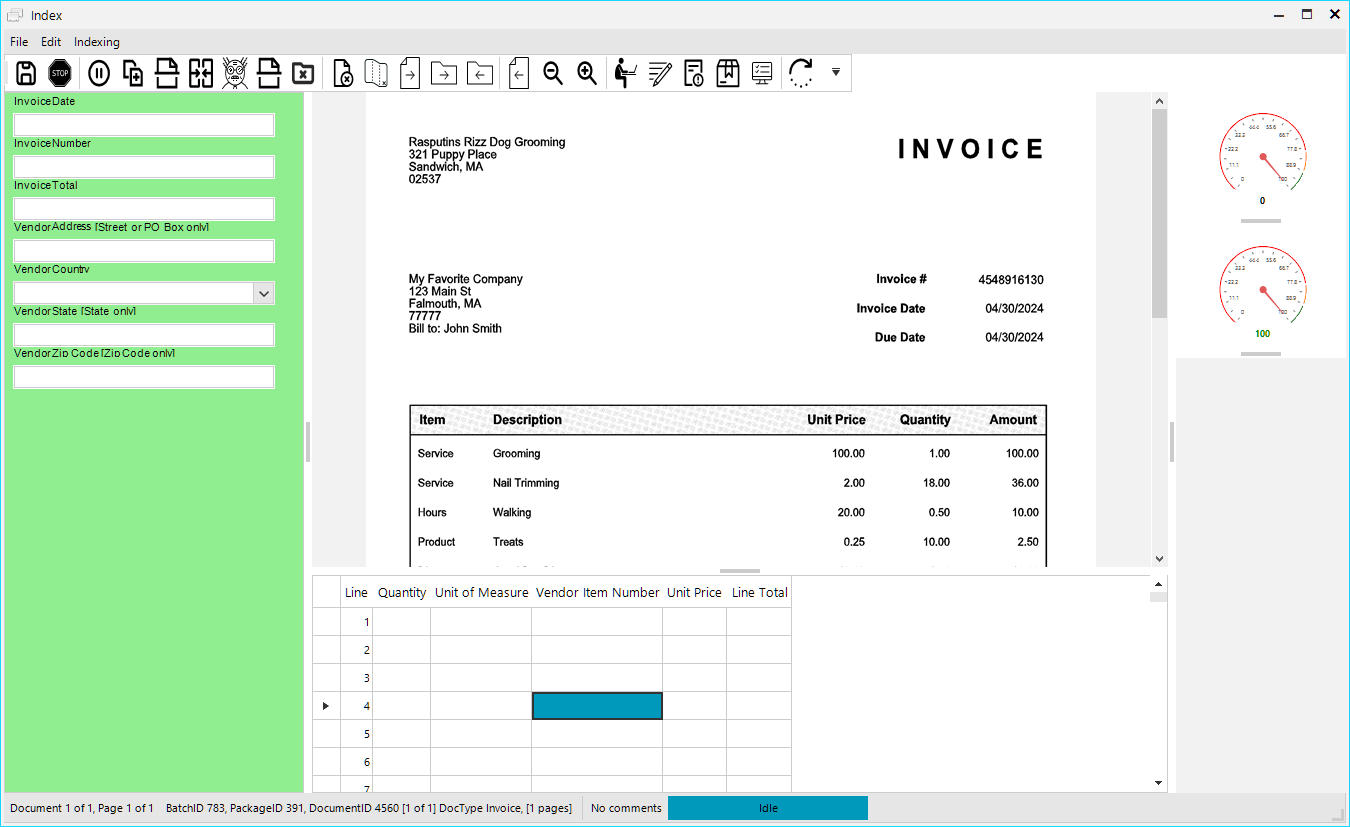
The amount of lines a project will have is set at the project level, but additional lines can be added by using Shift+Enter. This will insert a single line above the currently selected line.
A line can be deleted by selecting the line you want to delete, and using Shift+Delete.
Line Item Editor
If your document has Extracted Data, you can use the Line Item Editor to quickly and easily copy entire sections of information into the appropriate areas of your line items.
To open the Line Item Editor press F3 on your keyboard. This will bring up a separate window with the extracted data on the left, and your line items on the right.

By default the left-side table will be selected. You can hold the grave key (`~) to temporarily switch which side you are controlling, or press Ctrl+Num[0] to swap the default active side.
Using Ctrl+Num[1-9] Will let you swap between the tabs at the top of the extracted data section. The more tables are found on a page, the more tabs you will see in this section.

With a tab selected, you can use the arrow keys to move your cursor around. Hold the Grave key (`~) and use the arrows to place your cursor in the cell you want to copy information to then release the Grave key and use your arrow keys to select the cell you want to copy FROM.
If you would like to copy an entire column or copy an entire row (or a combination of the two) hold Shift while using the arrow keys to select multiple cells.
Press Enter with a cell or cells selected, and your information will be copied into the line items table on the right. If you are copying multiple cells the currently selected cell in the Line Items table will be where the top-left most cell is pasted, and the rest will keep their position in relation to that cell.

If you would like to reorder the columns in the extracted data, click and drag on the column header then drop it where in the position you want it. This can be useful if you are collecting data in a certain order, but the table you are copying from is not already in that order.

When you are finished editing your line items, press F1 to save and close the Line Item Editor. Alternatively you can press Escape to close the editor without saving any changes you have made.
To pull all of the line item information from extract using the tags the system has in place you can use Ctrl+P.
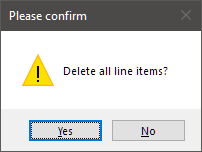
If you would like to clear all of the line item data you can use Ctrl+N and then accept the dialogue box.
Manipulating pages
Merge Document with the Previous Document – Ctrl + M Or the Merge Document button in the toolbar. Documents can only be merged with the PREVIOUS document, and cannot be merged forward to the next.

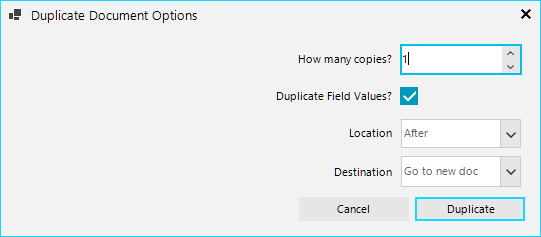
Duplicate a Document – Shift+Ctrl+C or the Duplicate Document button in the toolbar. This will open a dialogue window, allowing you to choose how many duplicates you would like to make, where they should be placed, and what to do with the indexing fields you may have already filled in.

Splitting a Document – Ctrl+D or the Split Document button in the toolbar at the top of the screen. This cannot be used on the first page of a document. When this tool is used it will take the current and following pages and move them into a new document placed directly after the document you are currently on.

Splitting a Page – Ctrl+Shift+S or the Split Page button on the toolbar at the top of the screen. This will open the split image dialogue box. See our ePrep user guide for more information on how to use this tool.

Rotating a Page – Ctrl +R or the Rotate Page button in the toolbar at the top of the screen will rotate the current image Clockwise 90°. To rotate counterclockwise use Ctrl+Shift+R.

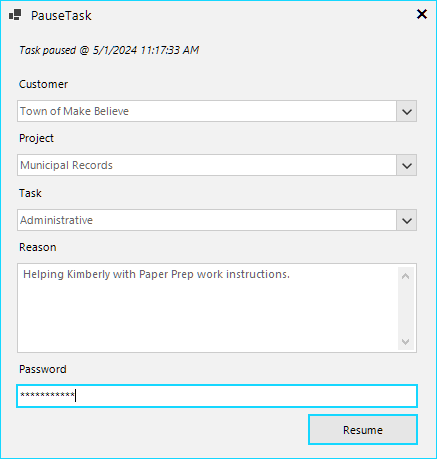
Pausing Your Task- Ctrl+P or the Pause button in the toolbar at the top of the screen will pause the timer on your current task. This will open a dialogue window where users must fill in the displayed fields and enter their password to unpause the task and continue working.

Stopping Your Task- Ctrl+T or the Stop Task button in the toolbar at the top of the screen. This will remove you from the currently active task without setting a finished flag.

Manually Save Changes- Ctrl+S or the Save Changes button in the toolbar at the top of the screen. Changes made to documents will be saved whenever the task is stopped or finished, but if you would like to manually save you can do so at any time.

Entering ePrep
If you need to enter ePrep for any reason, you can use Ctrl+e to do so or you can use the “Enter ePrep” button in the toolbar at the top of the screen. To return to indexing from ePrep simply finish or stop the ePrep task. Refer to our ePrep User Guide for more information on how to use ePrep.

Finishing Index/QC
When you’ve finished indexing or QCing a document, you can finish the task by using Ctrl+F, or by pressing Enter in an indexing field. If you have line items as part of the project, pressing enter will instead move you to the line items. Pressing it again while in the line items will now finish the task.
