Groups and Locations within PACE Administration allow a supervisor to assign access and privileges to employees based on their roles and training. Groups are completely customizable and can easily be added, changed or deleted. Below are examples of some of the most commonly used Groups.
Groups
Here is a standard Employee Group. To assign an employee to a Group, you just check the box. You can see which employees are already assigned in the list.
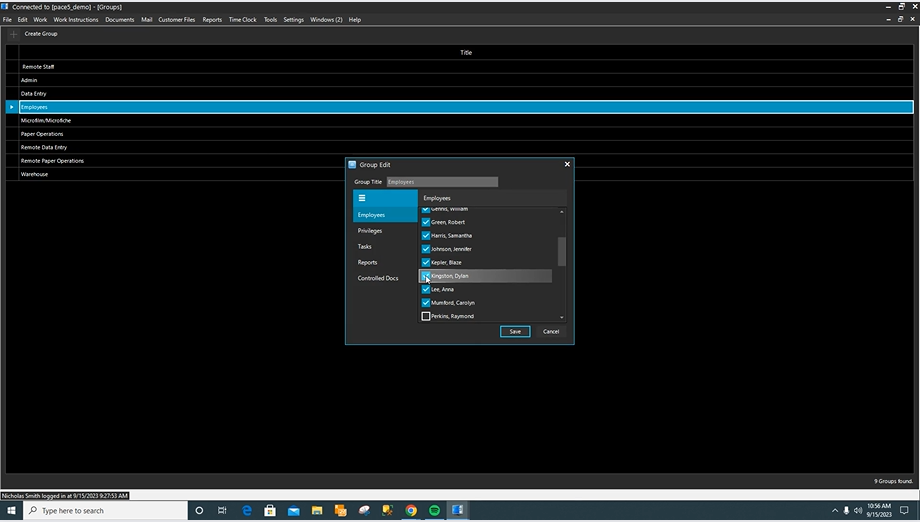
Here you can select which privileges they should have access to. Privileges refer to the menu items and functions they are able to perform in PACE.

You can also choose which Tasks they are allowed to log into at the project level. For basic employee access, we have chosen Tasks such as Break, Mail Opening, Team Meeting and Training.

Finally, you can also select which Reports and Controlled Documents they should have access to.

Now we will look at our Admin Group. This Group is set up for those with supervisor access and have been granted most of the available privileges and tasks.

You can have separate groups for each department (Paper Operations vs. Data Entry) since those employees need to have access to different Tasks to perform their job duties.
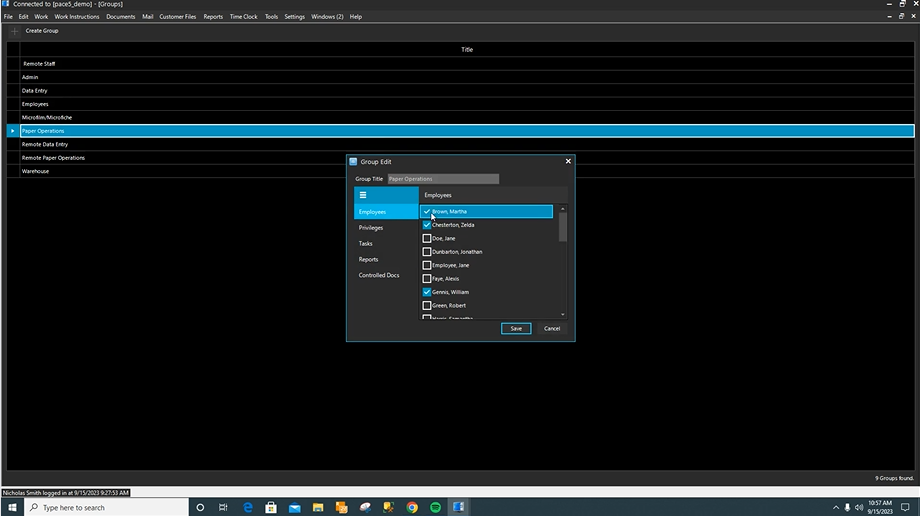
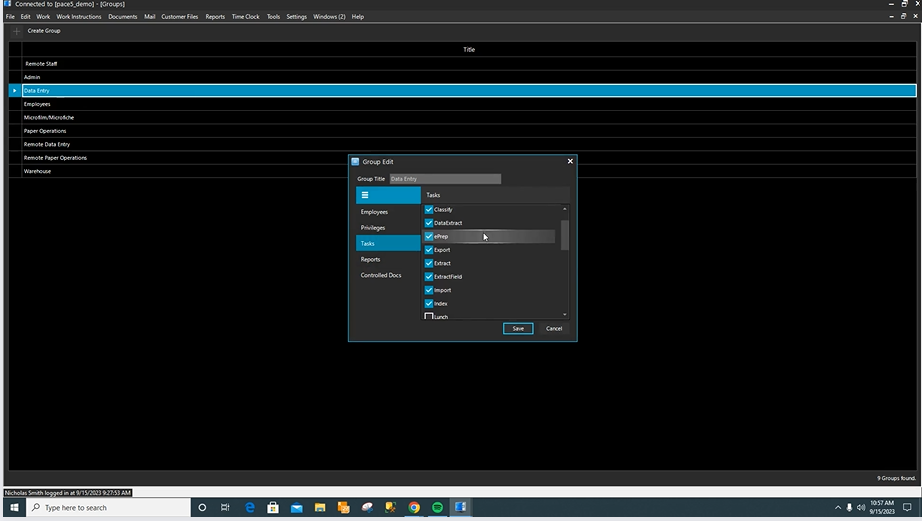
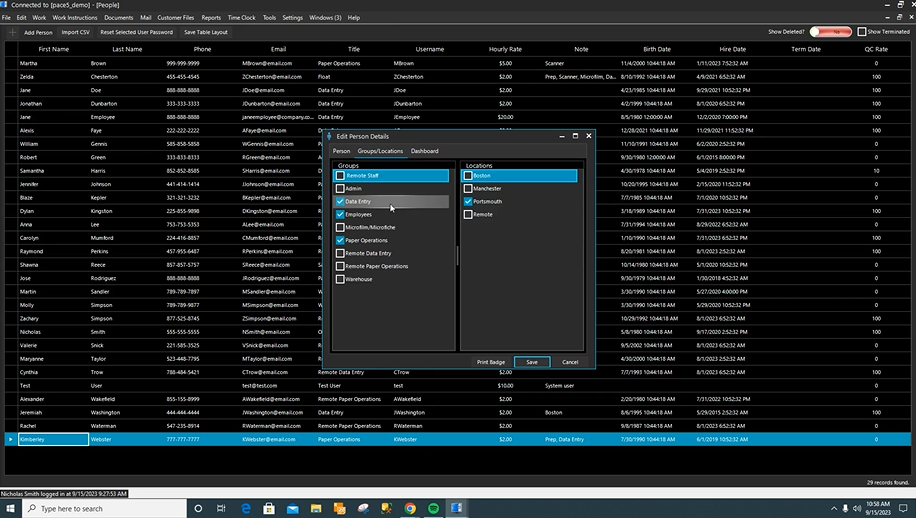
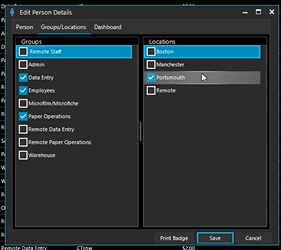
So, what if you have an employee who is cross trained to do more than one job? You can assign one person to multiple groups. The system tracks which job they are performing and you are able to see their performance numbers separately for each role.
Locations
Another benefit of PACE is that it can allocate and track work in more than one processing location. You can update each employee to only have access to the location(s) that they work.
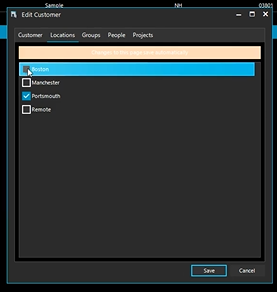
Let’s say you have a project that can be processed in multiple locations. In this case, you can also assign check off multiple locations for the project in PACE admin, so work can be shared by all of your locations.
If you’re interested in learning more or seeing a demo, reach out to our team!

